Teltonika TRB Modbus
In this guide we're going to show you how to use your Teltonika TRB-XXX device to read data via Modbus TCP and send it to Clarify. By doing so, you will be able to visualize your data and share it with your colleagues.
To do this, we'll need to go through three steps:
- Read data from Modbus
- Send data to Clarify via MQTT
- Publish data in Clarify
Reading data from Modbus
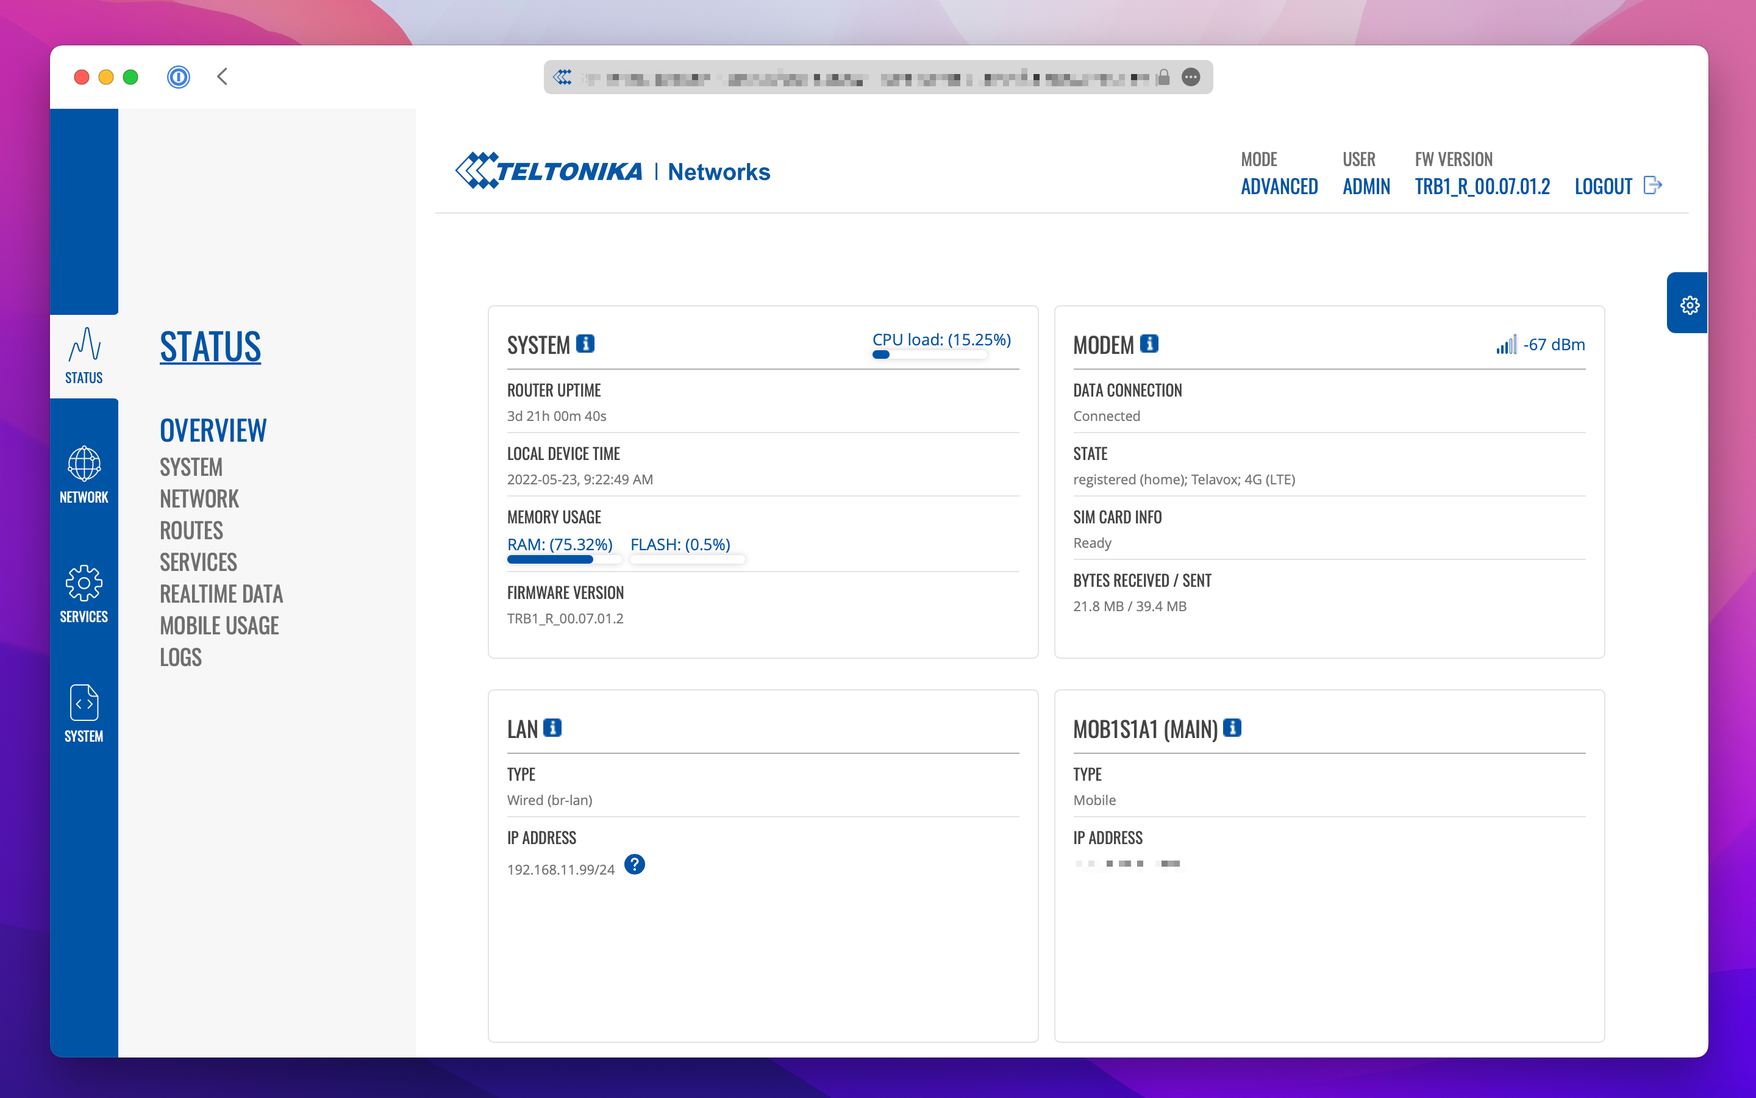
To get started we are going to start by opening a browser and typing in the address of our Teltonika device. You should now be looking at the interface show below.
To read data from Modbus, we will use the Teltonika device as a Modbus TCP Server. From the menu on the left, navigate to Services>Modbus and then choose the Modbus TCP Master.
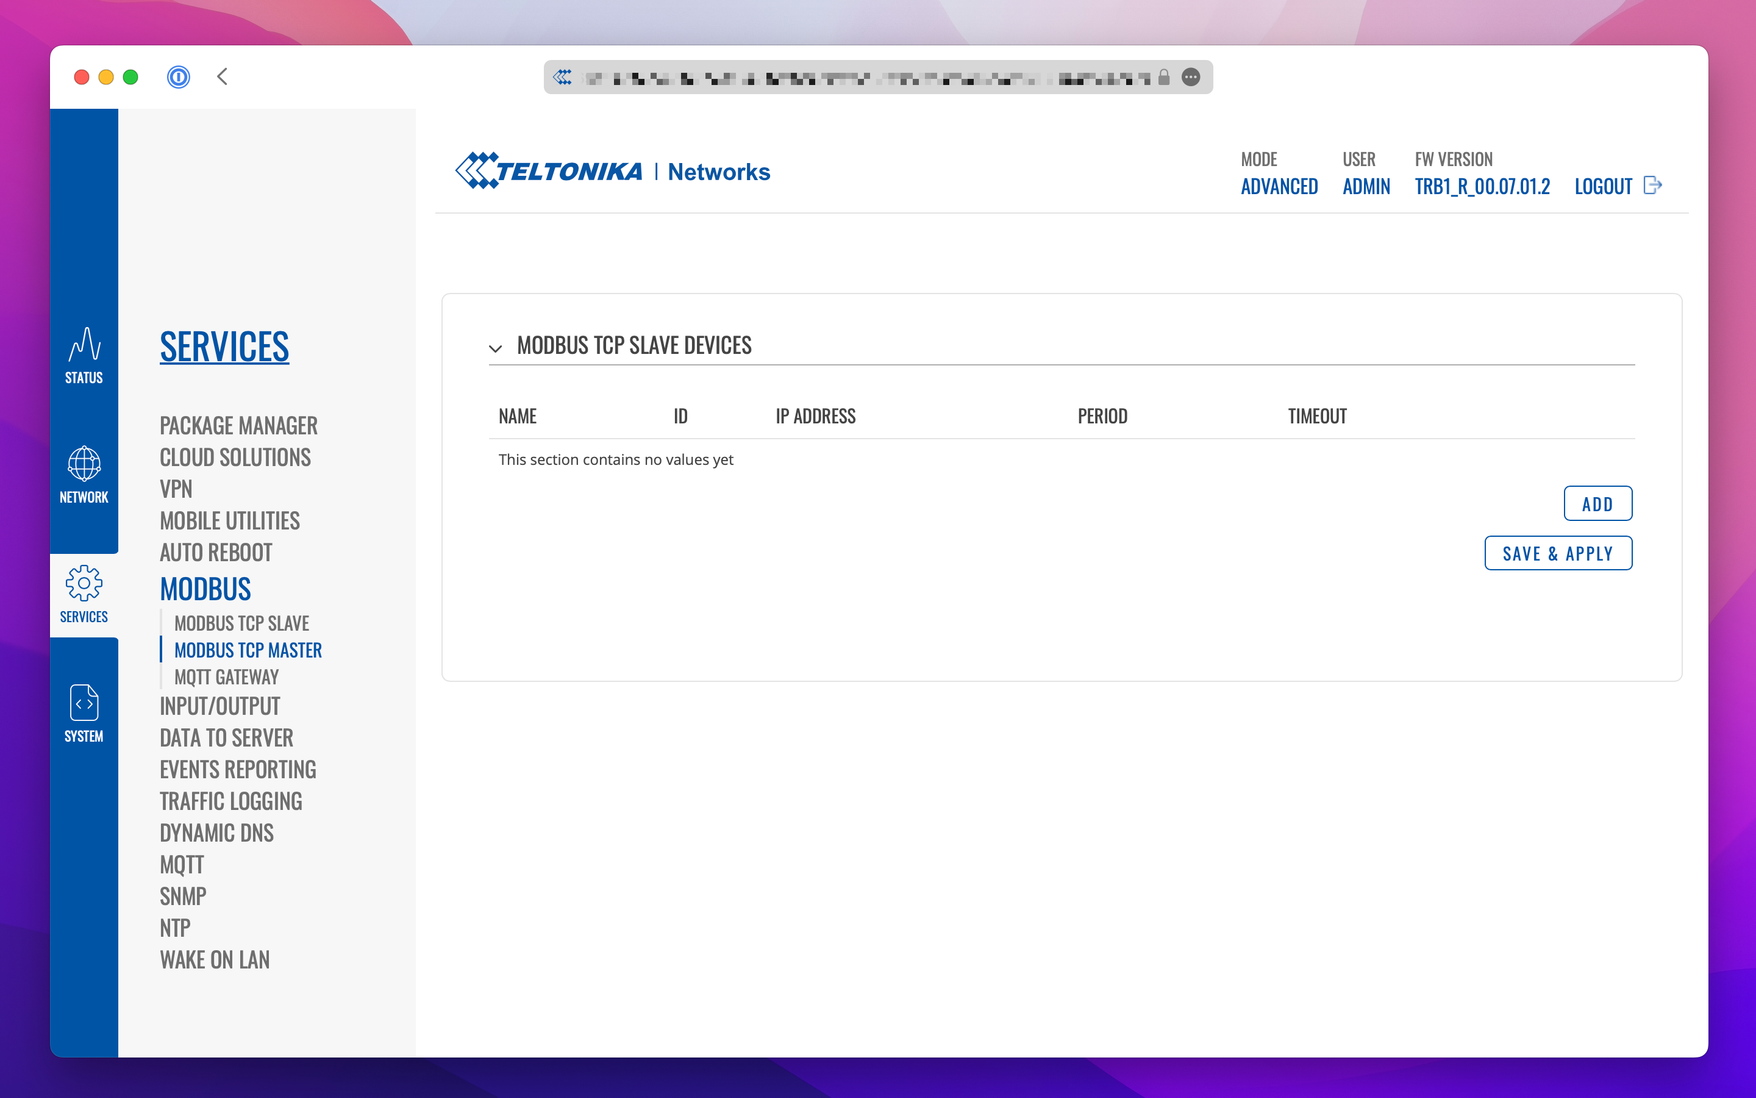
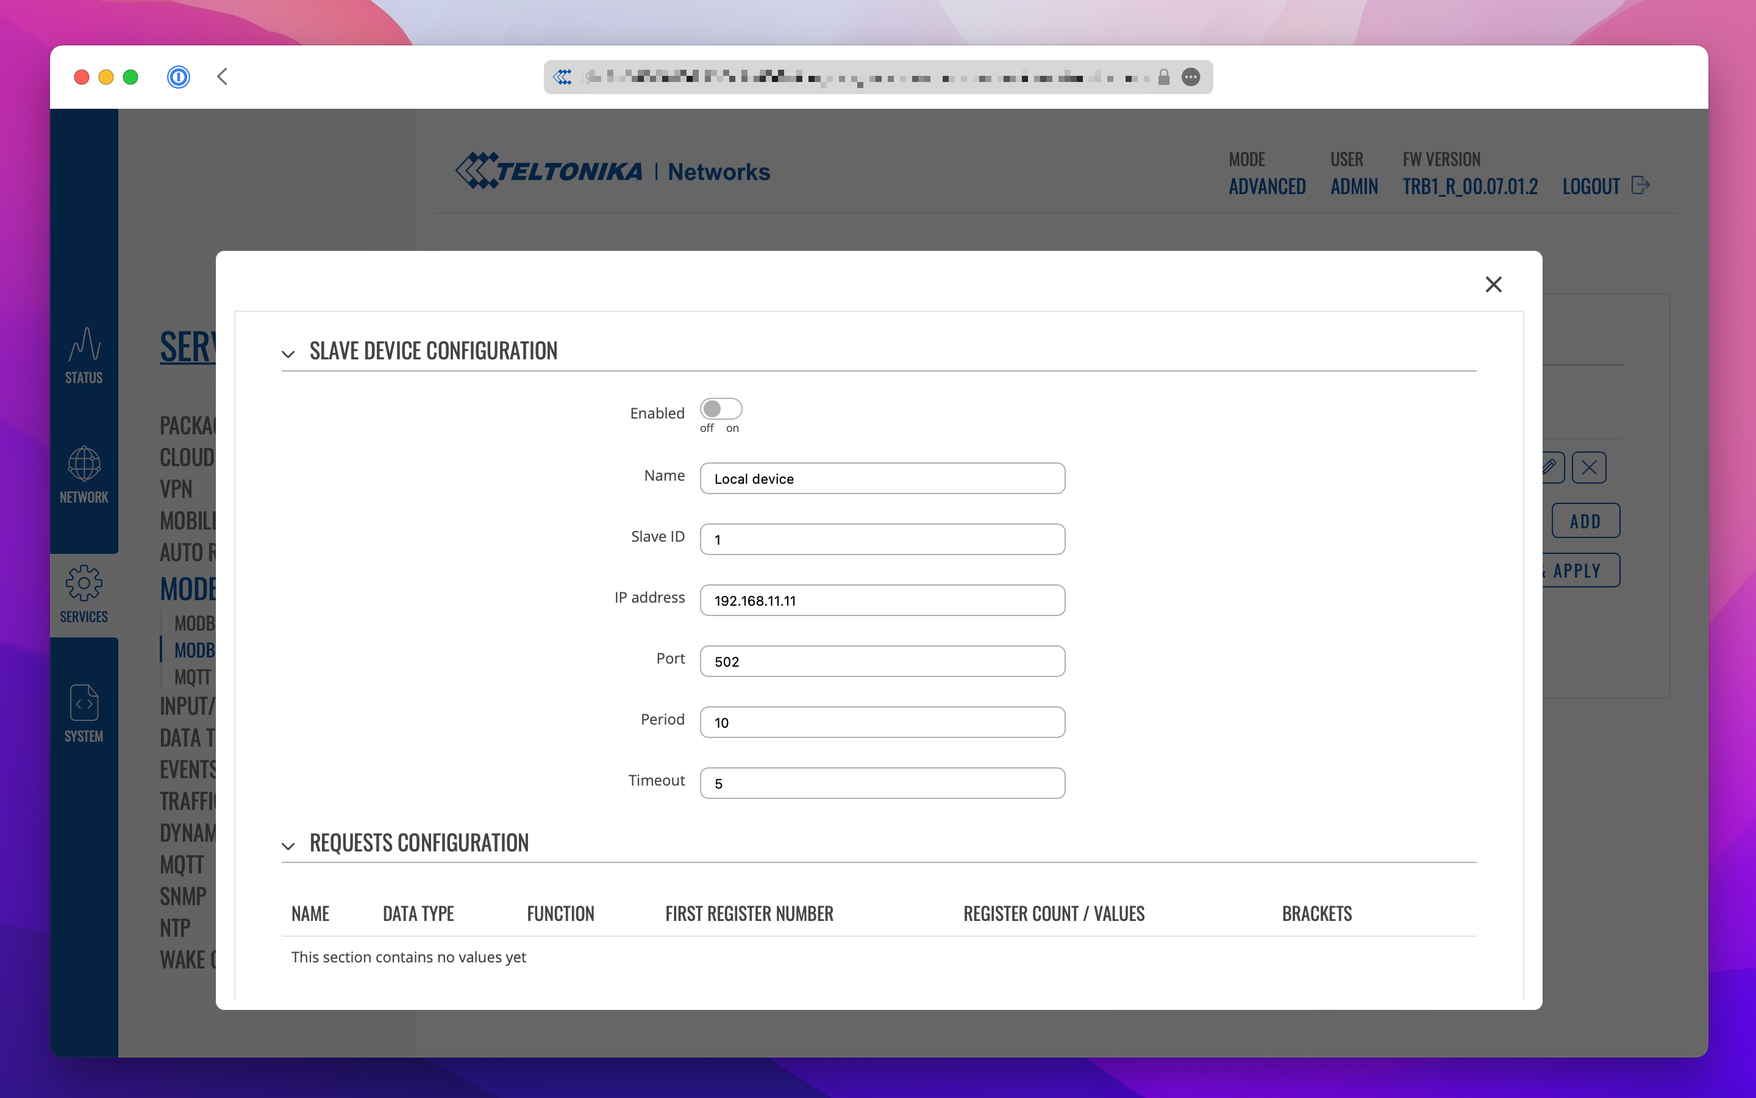
Press Add to set up a new slave device to read from. If you have multiple devices you wish to read from, you can repeat this step for each of them.
Make sure you enable the device by toggling the enable switch on the top of the slave device configuration window.
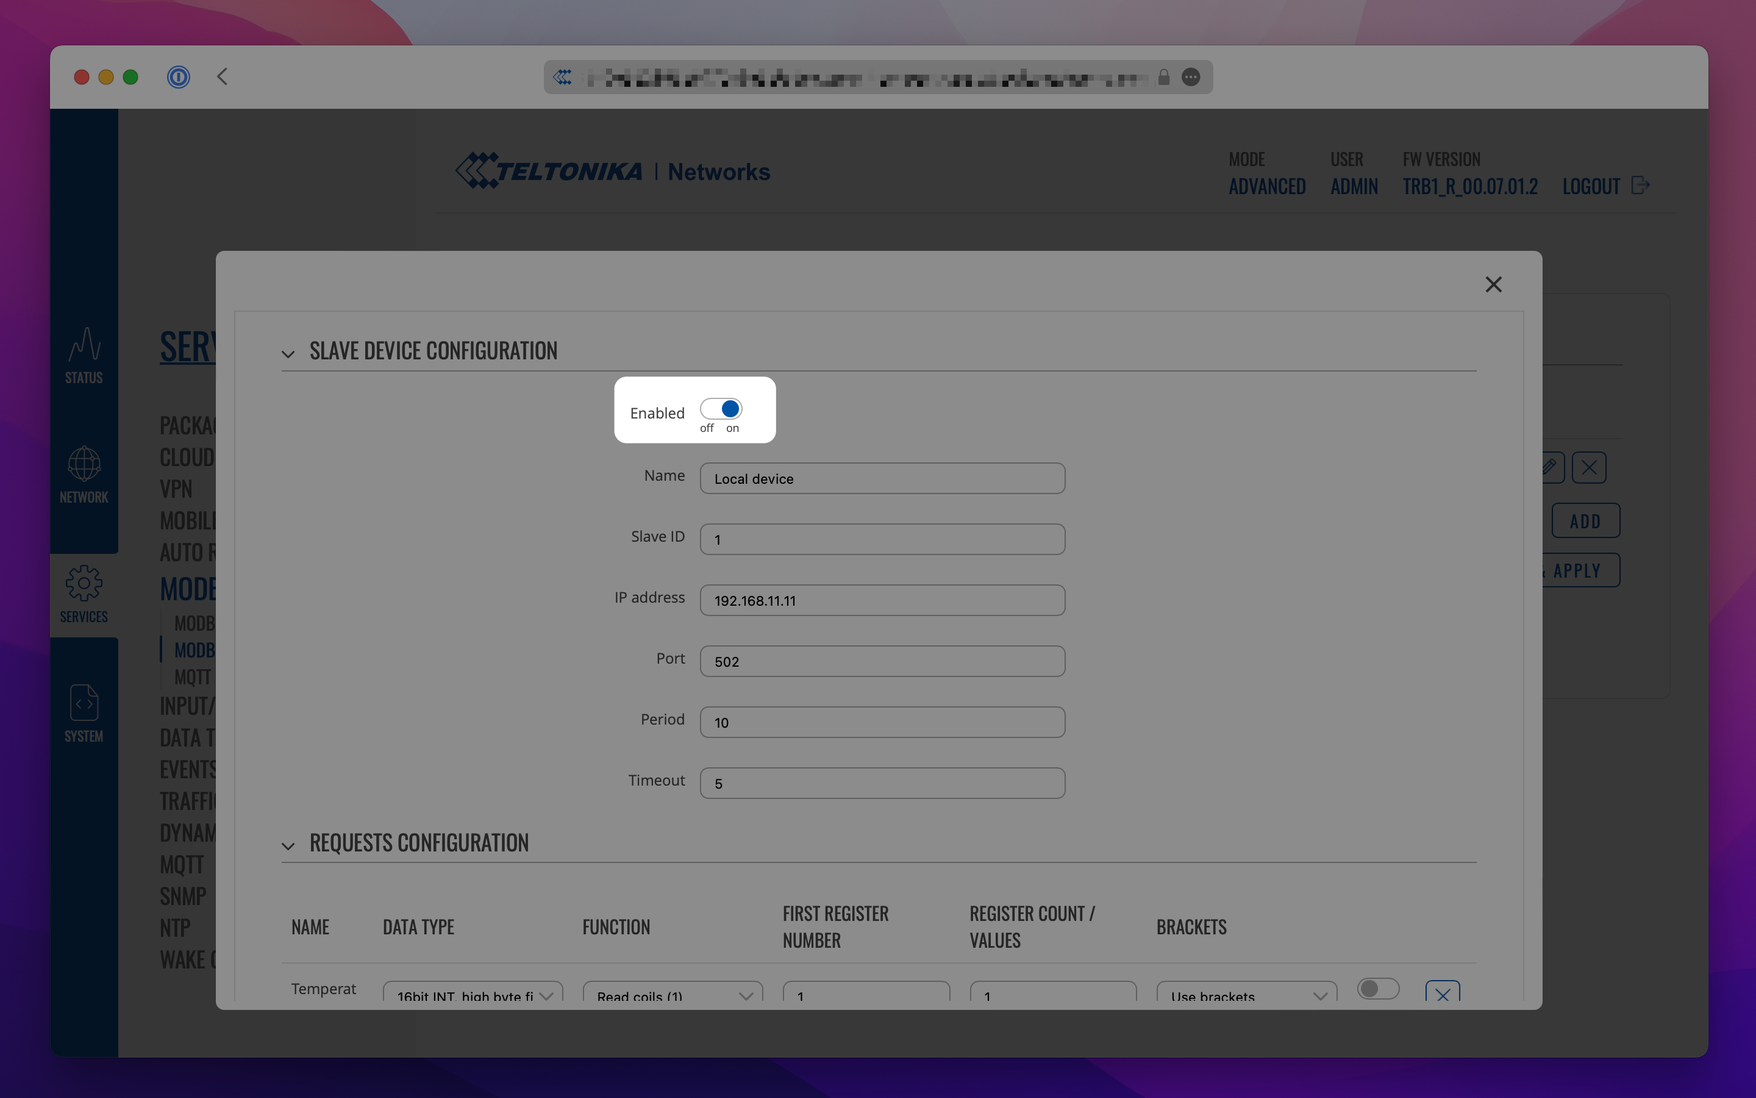
Now we need to specify which registers we wish to read from the slave device. Note that these also have an enable toggle switch which you can use to enable/disable each of the requests.
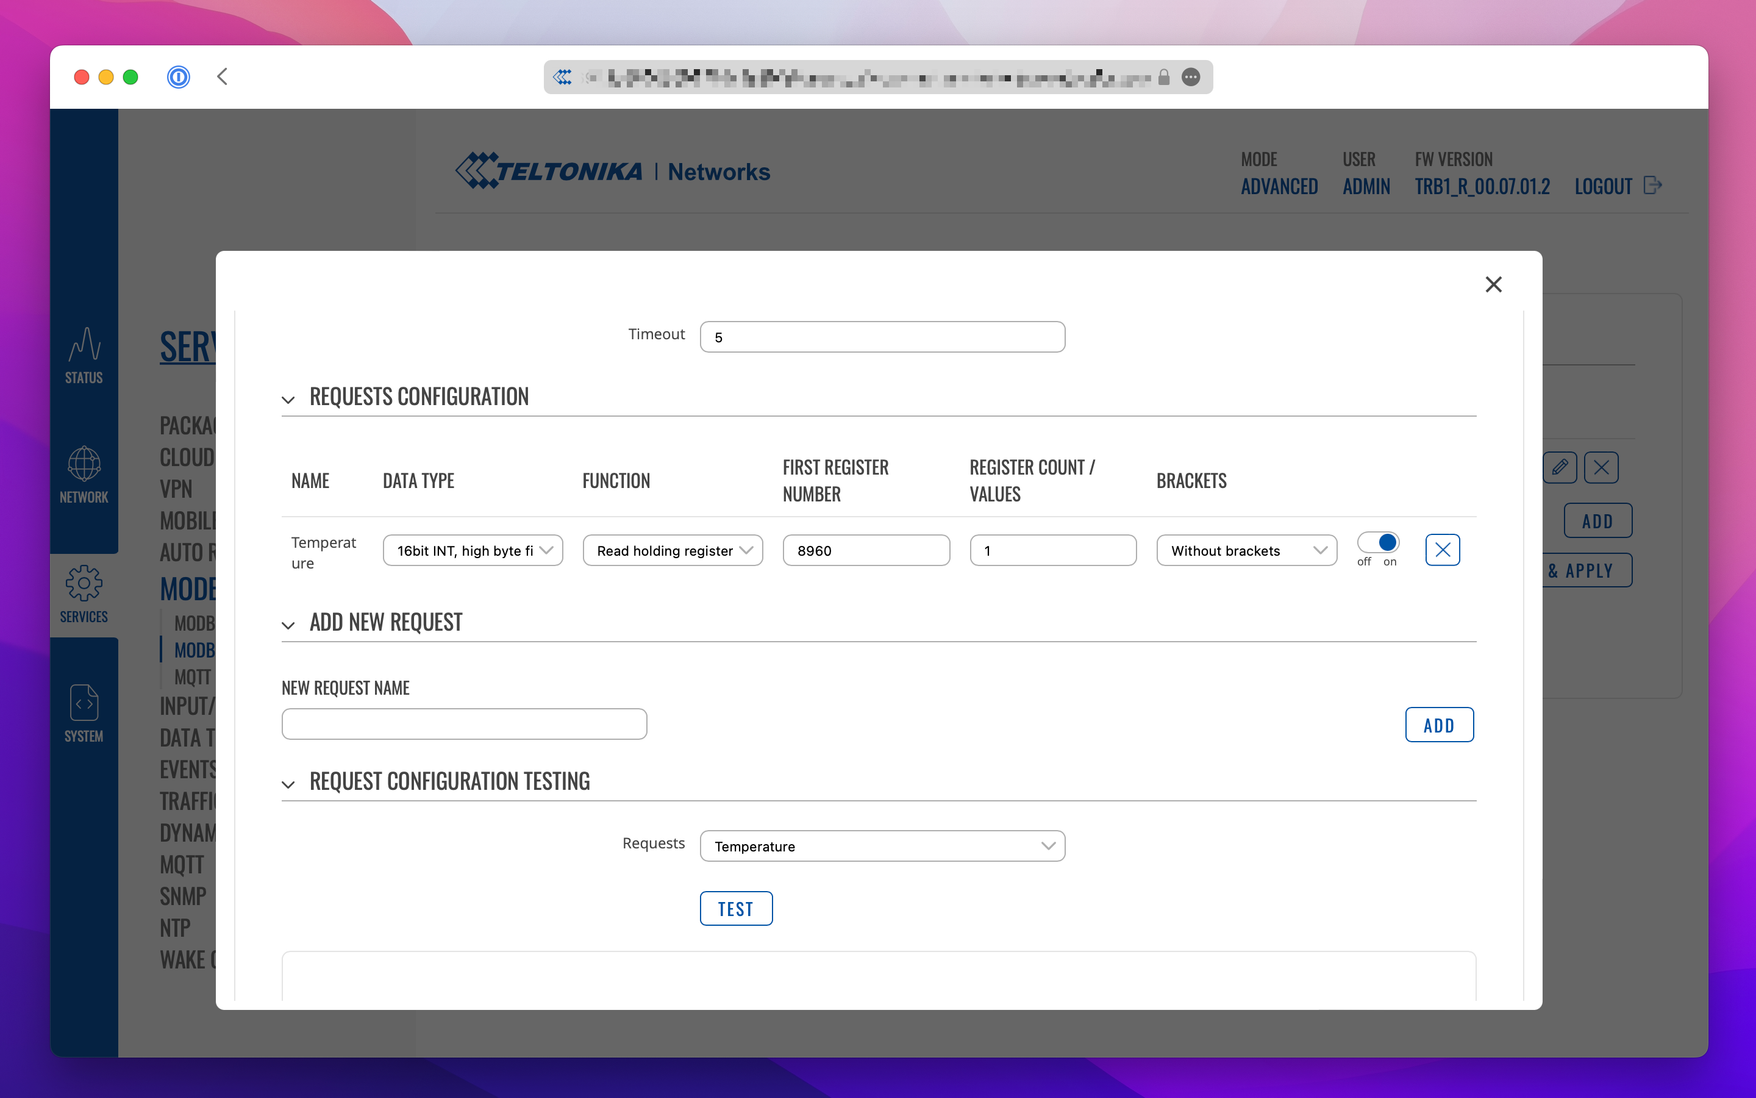
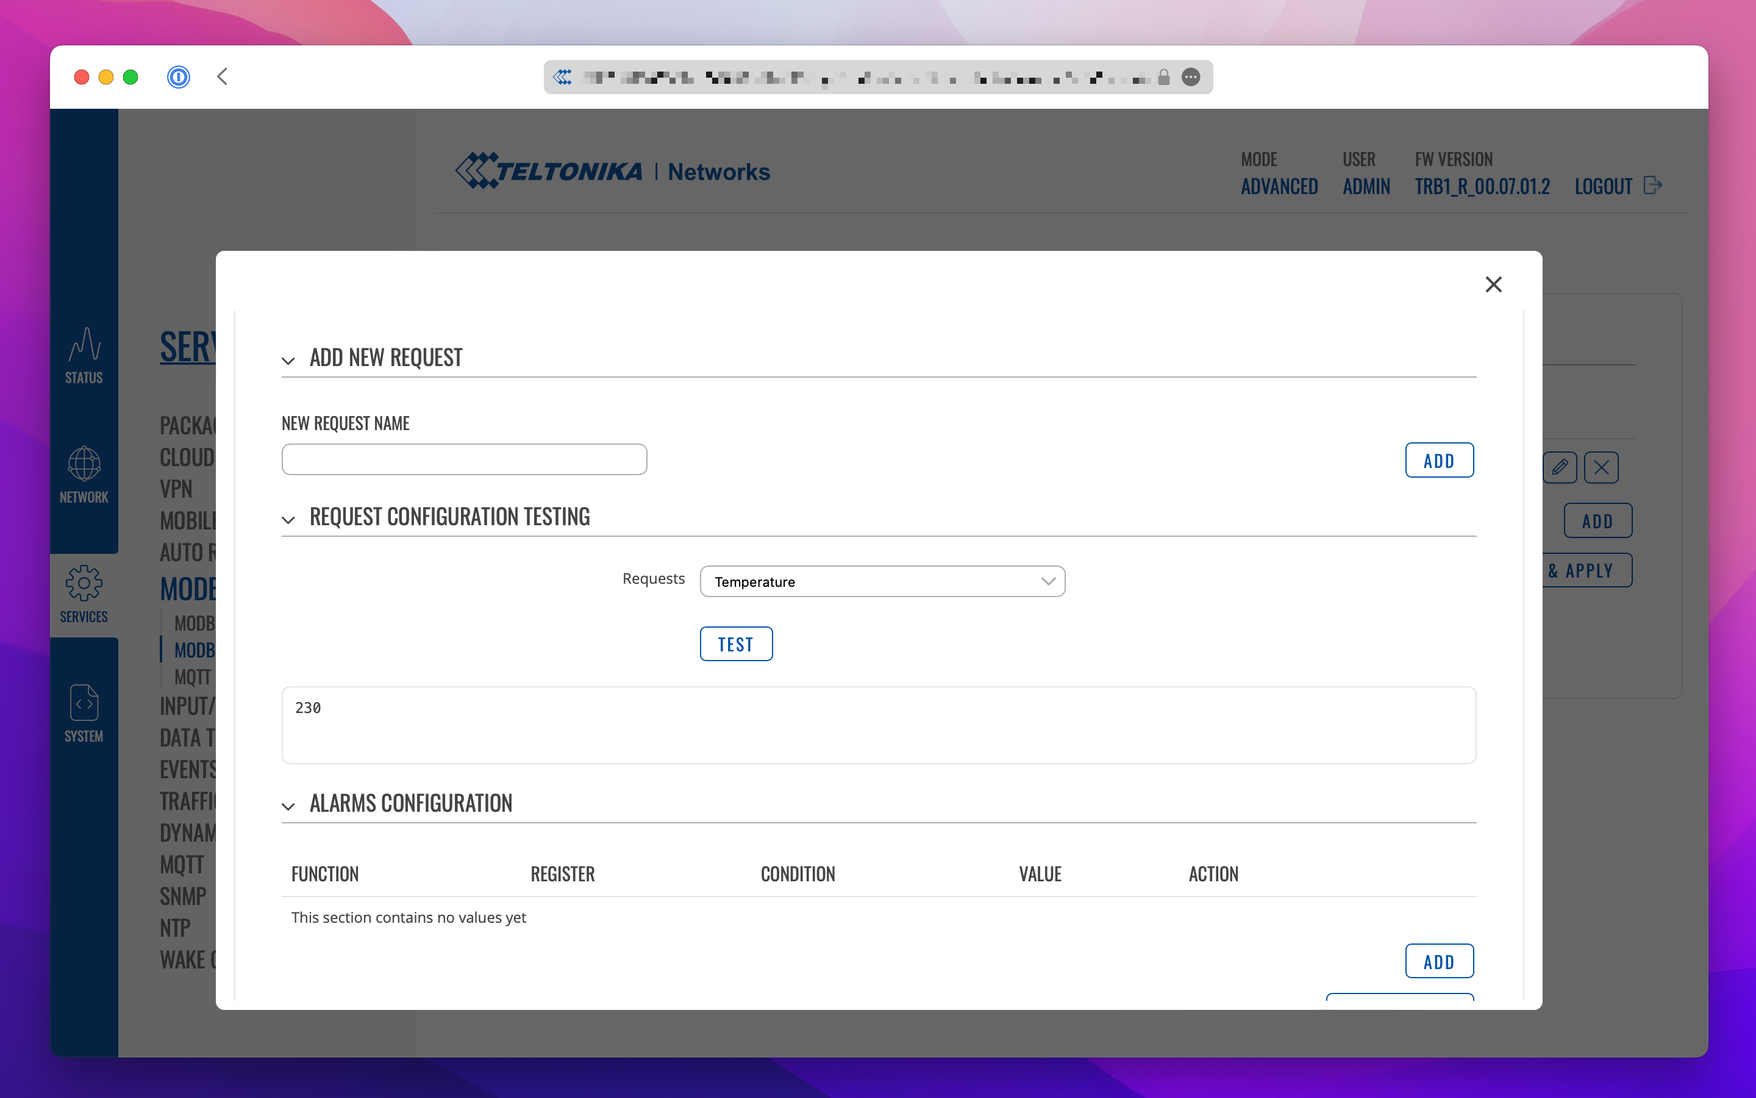
To verify that the setup works you can use the Request configuration testing option.
Note that the returned value is 230 while the actual temperature here is 23.0ºC. This is a common occurence in Modbus because some devices only support integer values.
Sending data to Clarify
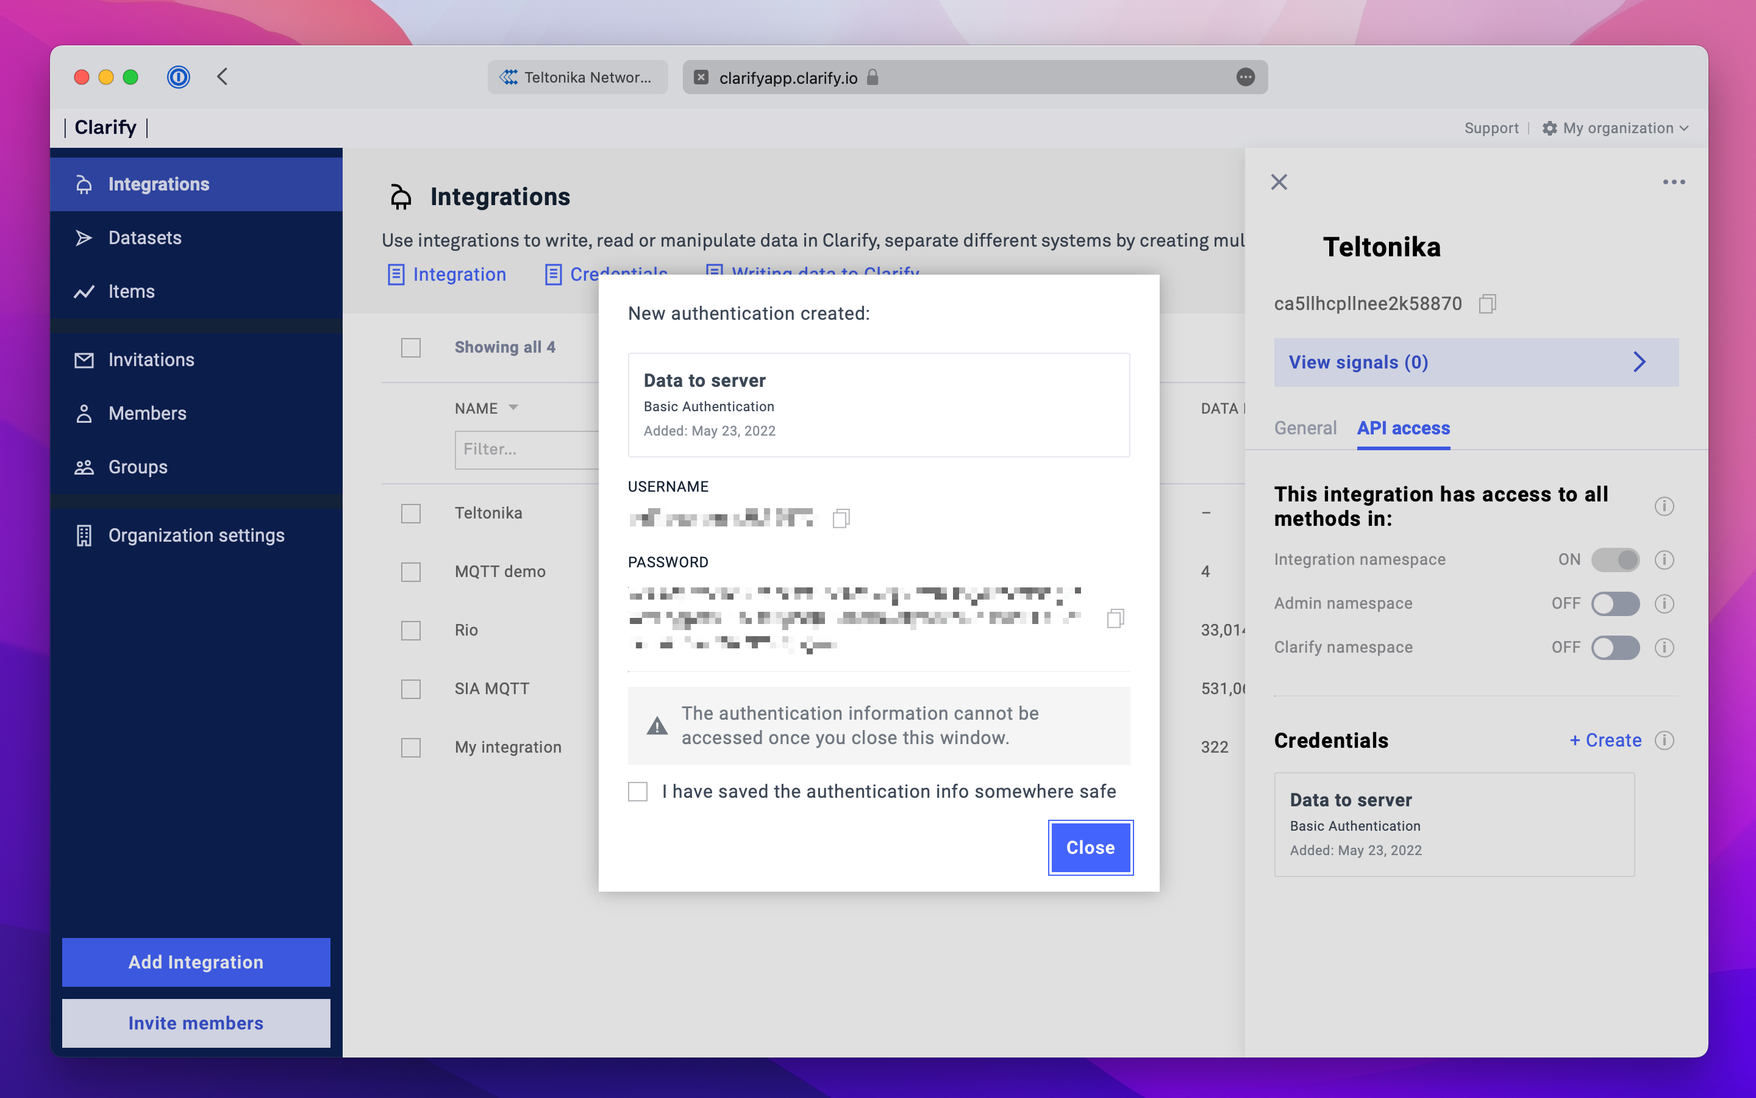
With the Modbus setup working we are going to connect the device to Clarify in order to store and visualize the data. Before we proceed with this step, we are going to need an integration in Clarify to send the data to. If you haven't already created one, follow the steps shown in integrations to create an integration and a set of Basic Auth credentials.
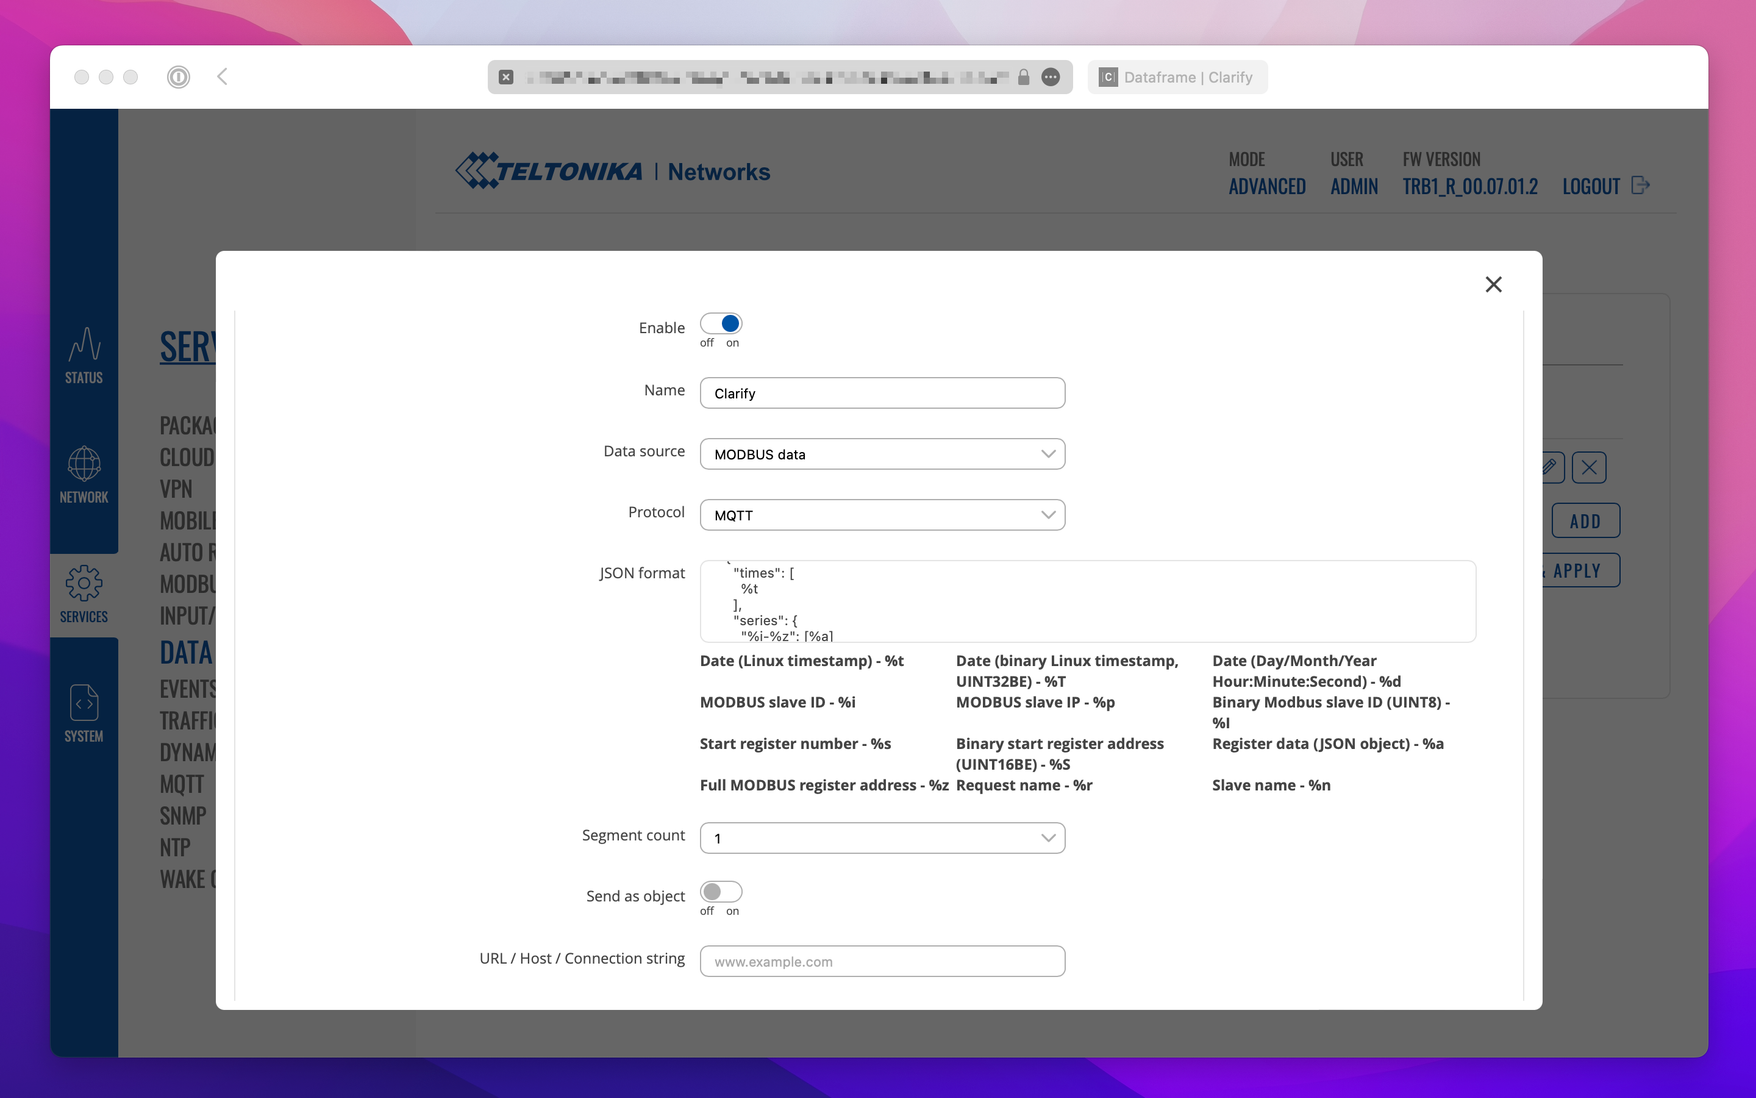
Now that we have an integration and credentials for it, we can use the Data to server function of the Teltonika device. Navigate to Services>Data to server and select Add to begin configuring a new connection.
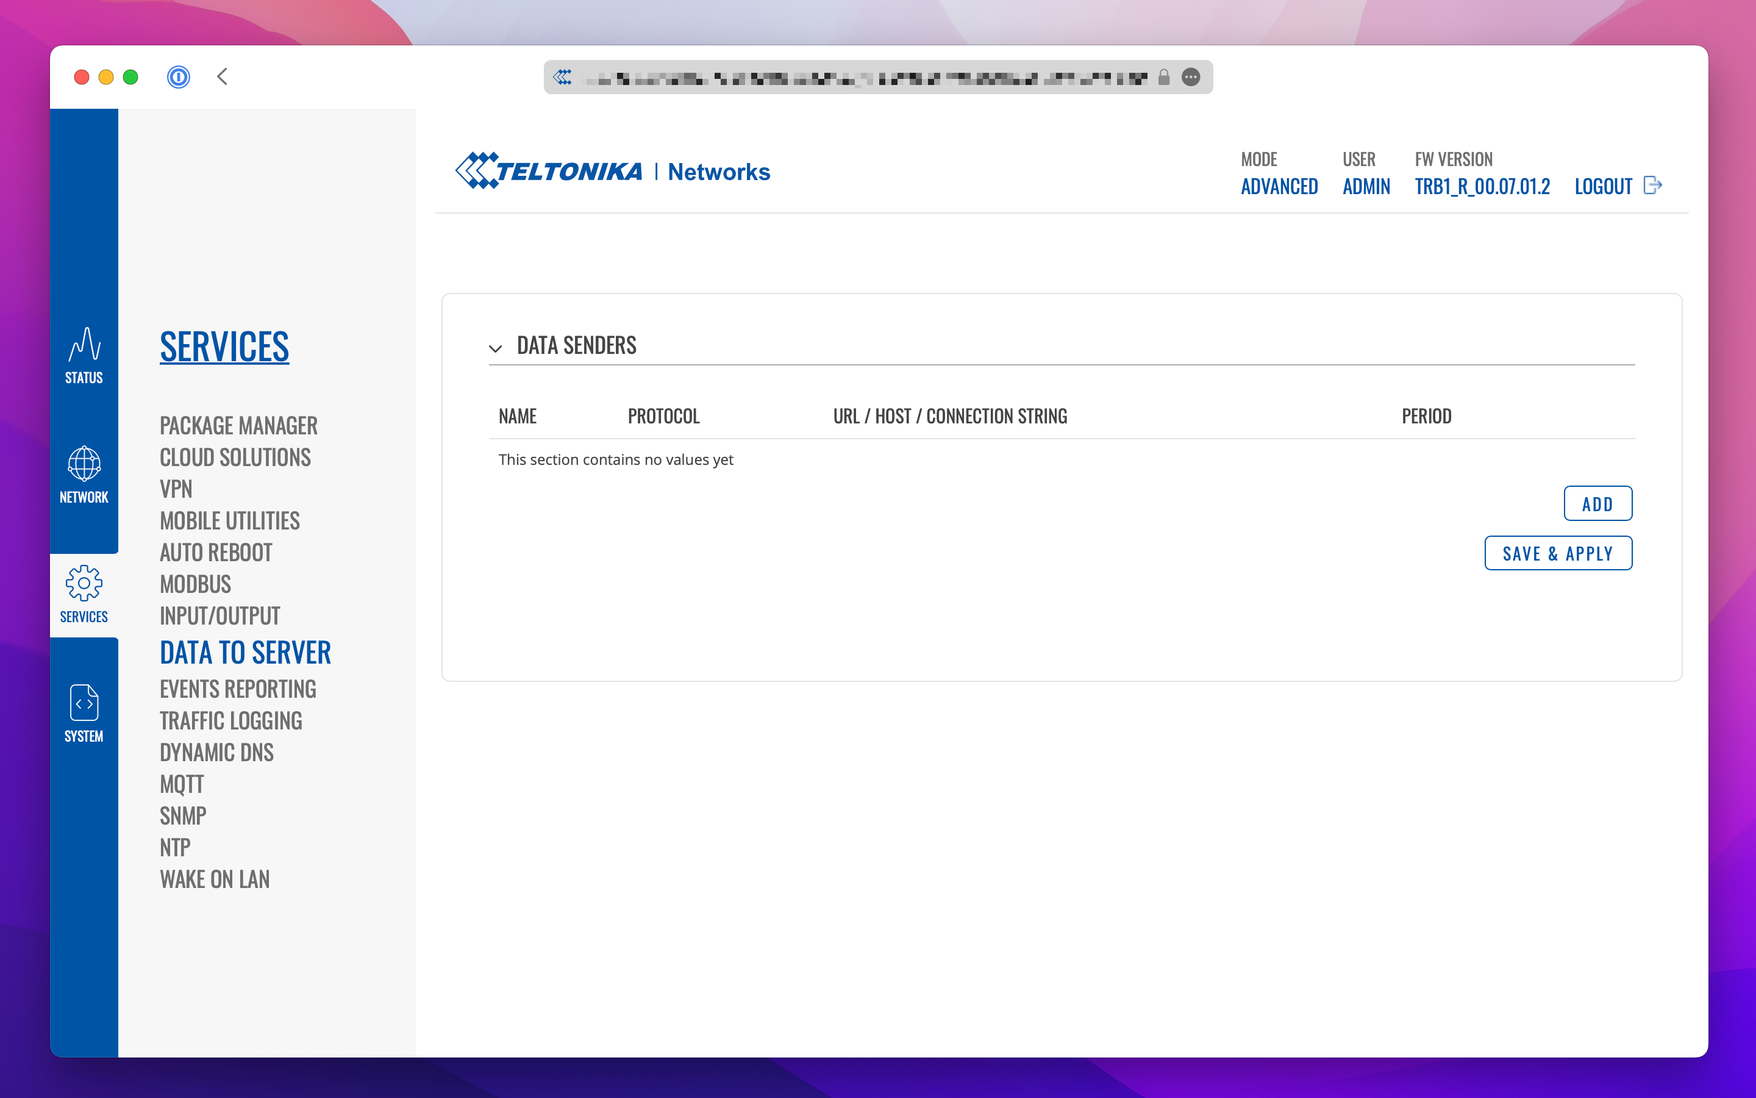
Give the connection a name, make sure to toggle enable on top and choose the following settings.
- Data source: Modbus
- Protocol: MQTT
- JSON format:
{
  "times": [
    %t
  ],
  "series": {
    "%i-%z": [%a]
  }
}
- Segment count: 1
- Send as object: on
- URL/Host/Connection string: mqtt.clarify.io
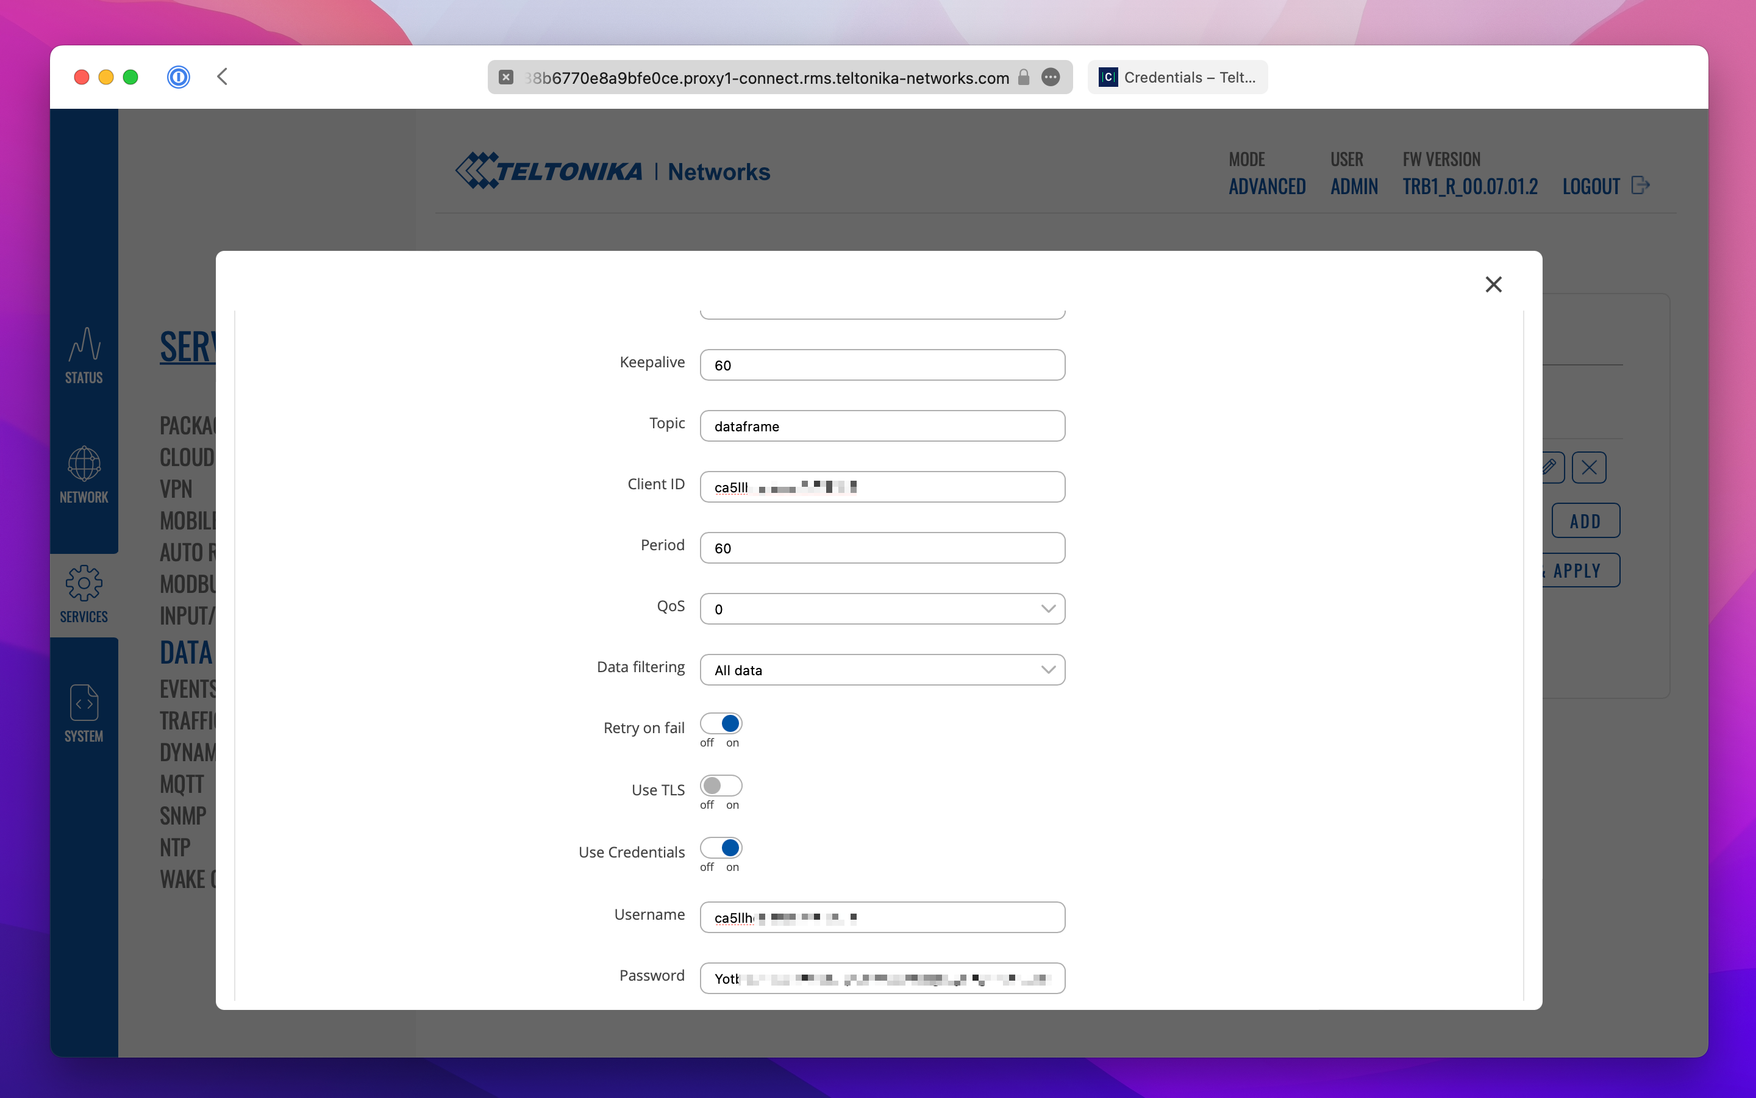
- Port: 1883
- Keepalive: 60
- Topic: dataframe
- Client ID:
<Basic Auth username> - Period:
<interval for data transmission> - QoS: 1
- Data filtering: All data
- Retry on fail: on
- Use TLS: off
- Use Credentials: on
- Username:
<Basic Auth username> - Password:
<Basic Auth password>
Publishing data
If you aren't familiar with the concepts in Clarify, you can learn more about them in our concepts guide. This isn't strictly required, but its helpful to be at least familiar with the concepts of and connection between integrations, signals and items.
Open the admin panel in Clarify again and follow the steps shown in the video to publish your data, and visualize it using Timelines.
If you found any errors, ambiguities or have any suggestions on how to make this guide better, please contact us via chat or send an email to hello@clarify.io 🙌
Disclaimer By using our guides you agree to the following disclaimer.