Opto22 groov RIO (Node-RED)
In this guide we're going to show you how to connect your Opto22 Rio Groov device to Clarify, using the built-in support for Node-RED. By doing so, you will be able to visualize your data and share it with your colleagues.
To do this, we'll need to go through four steps:
- Start and configure Node-RED
- Read data from I/O channels
- Send data to Clarify
- Publish data in Clarify
Starting Node-RED
First, navigate to the groov manage panel and log in. If you haven't already used Node-RED on the device, you will need to get an API key from the user settings. Head on over to users, then choose the user you want and copy the API key. Make sure to keep track of this because you will need it when configuring nodes to talk to the device for the first time.
Finally we need to enable the Node-RED runtime, which we do from system settings.
To get started we are going to start by opening a browser and typing in the hostname of our groov RIO device. You should now be looking at the interface show below.
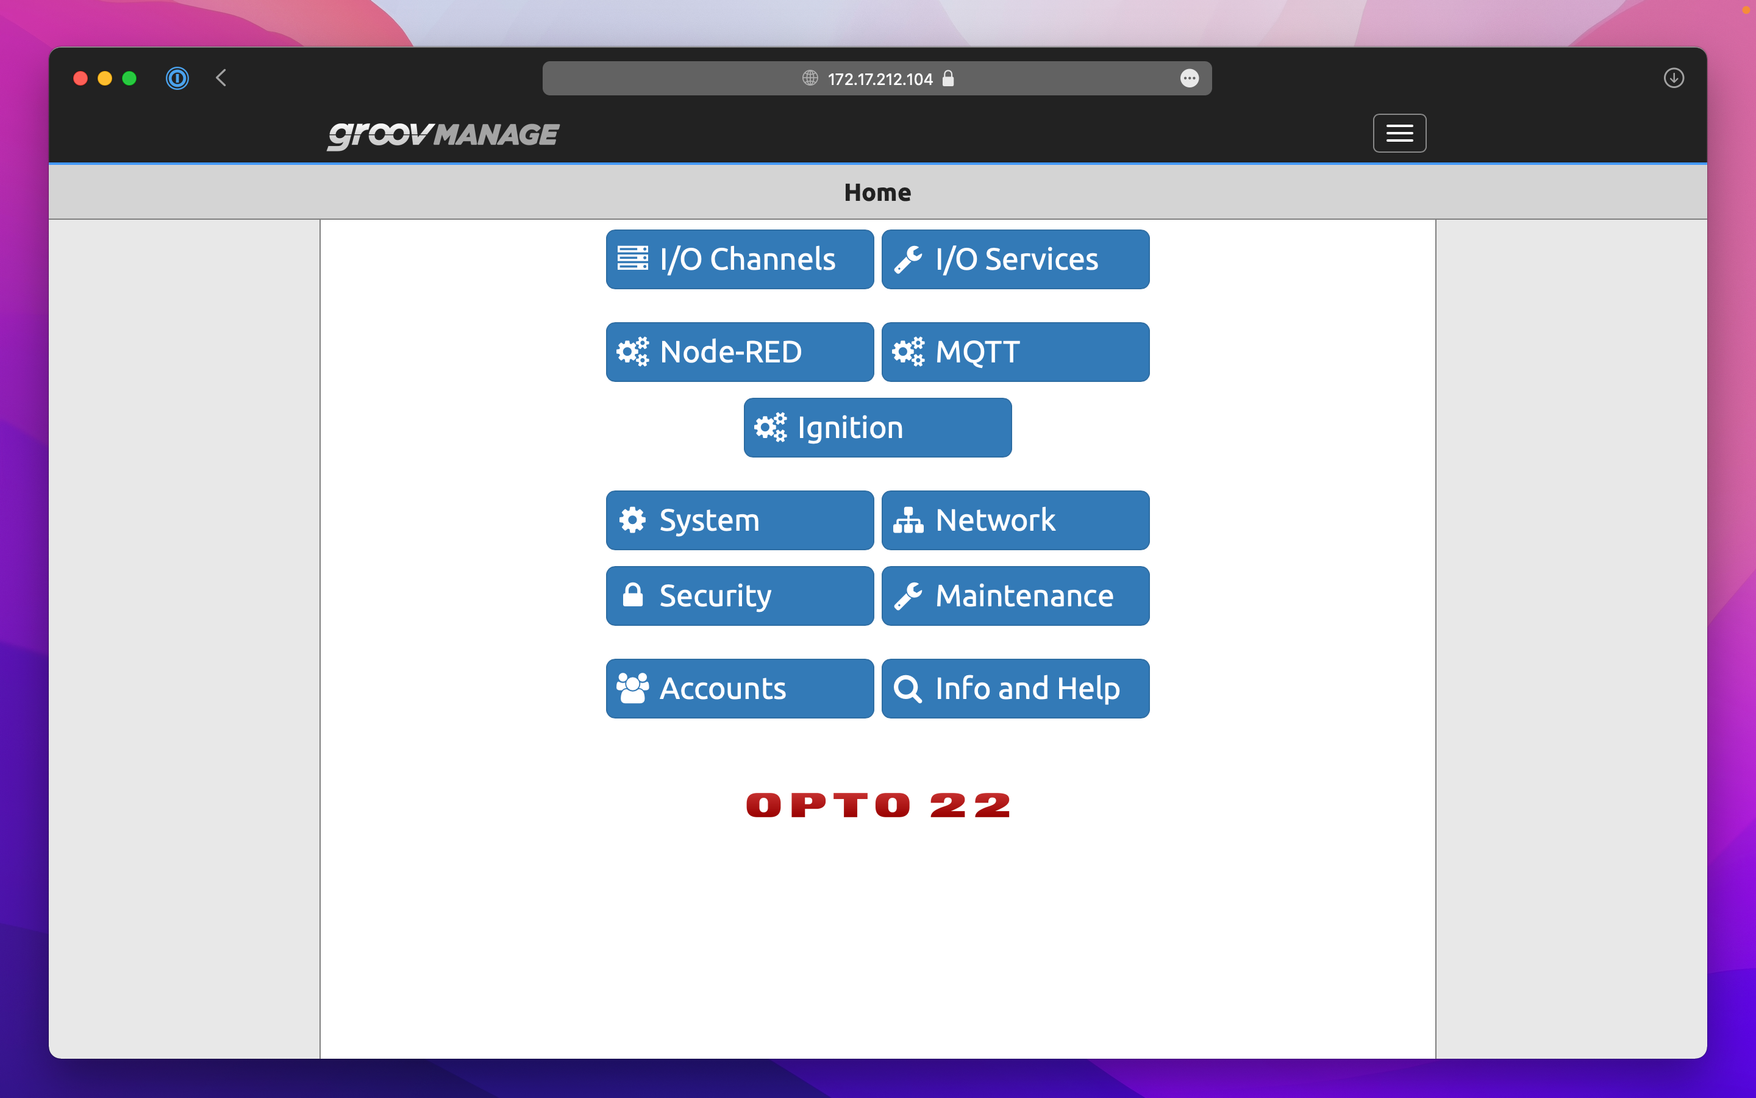
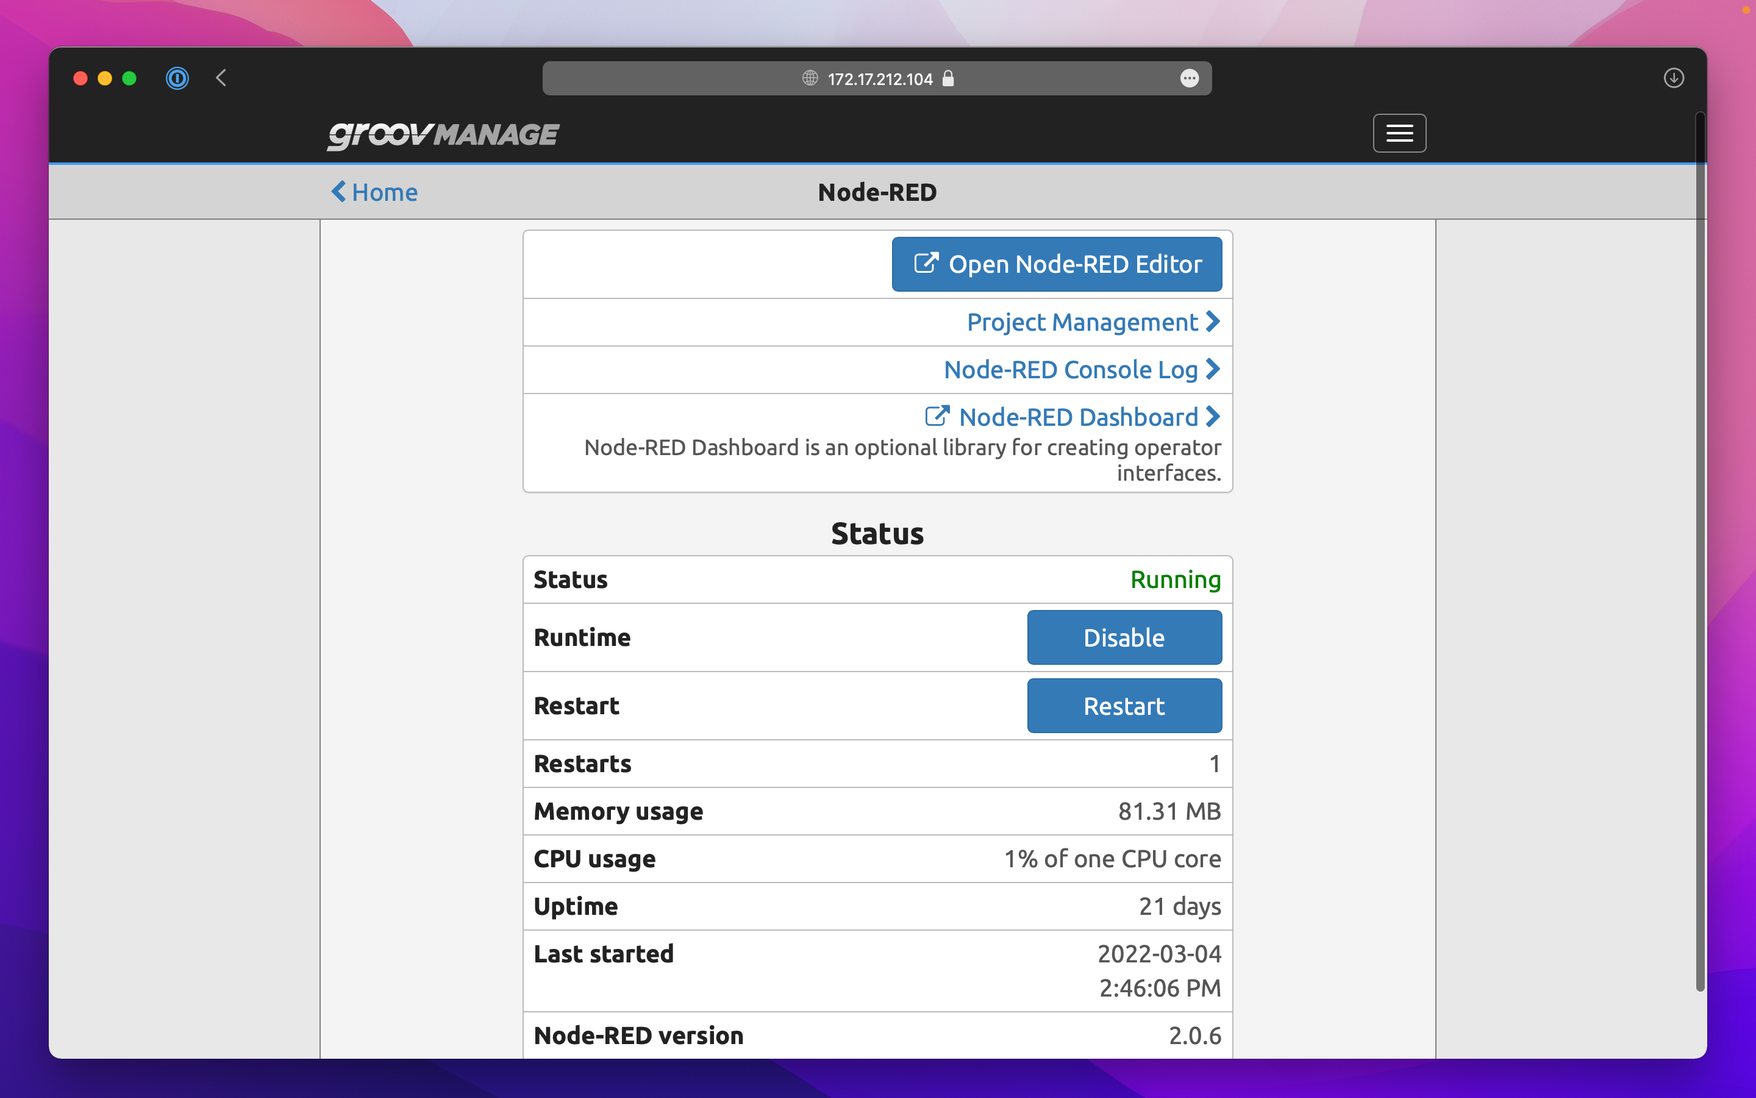
Now click the "Node-RED" button to bring up the administration of your Node-RED instance. If the Runtime for Node-RED isn't already running you will need to start it before proceeding. Once the runtime has started, you can press the "Open Node-RED Editor" button.
Reading data
If this is your first time using Node-RED on the device, you likely need to install the groov-io-input node. To do so, follow the instructions provided here.
Reading data from the I/O channels in Node-RED is done with the groov-io-input node. Drag an input node and a debug node into an empty flow and connect them, like shown in the video.
Now we need to configure the input node and deploy the flow to start reading data. Double click the input node to open it and start by configuring the "Device" settings. If you have previously configured the device, you can select an existing device from the list, otherwise select "Add new groov-io device..." and click the pencil icon to edit it.
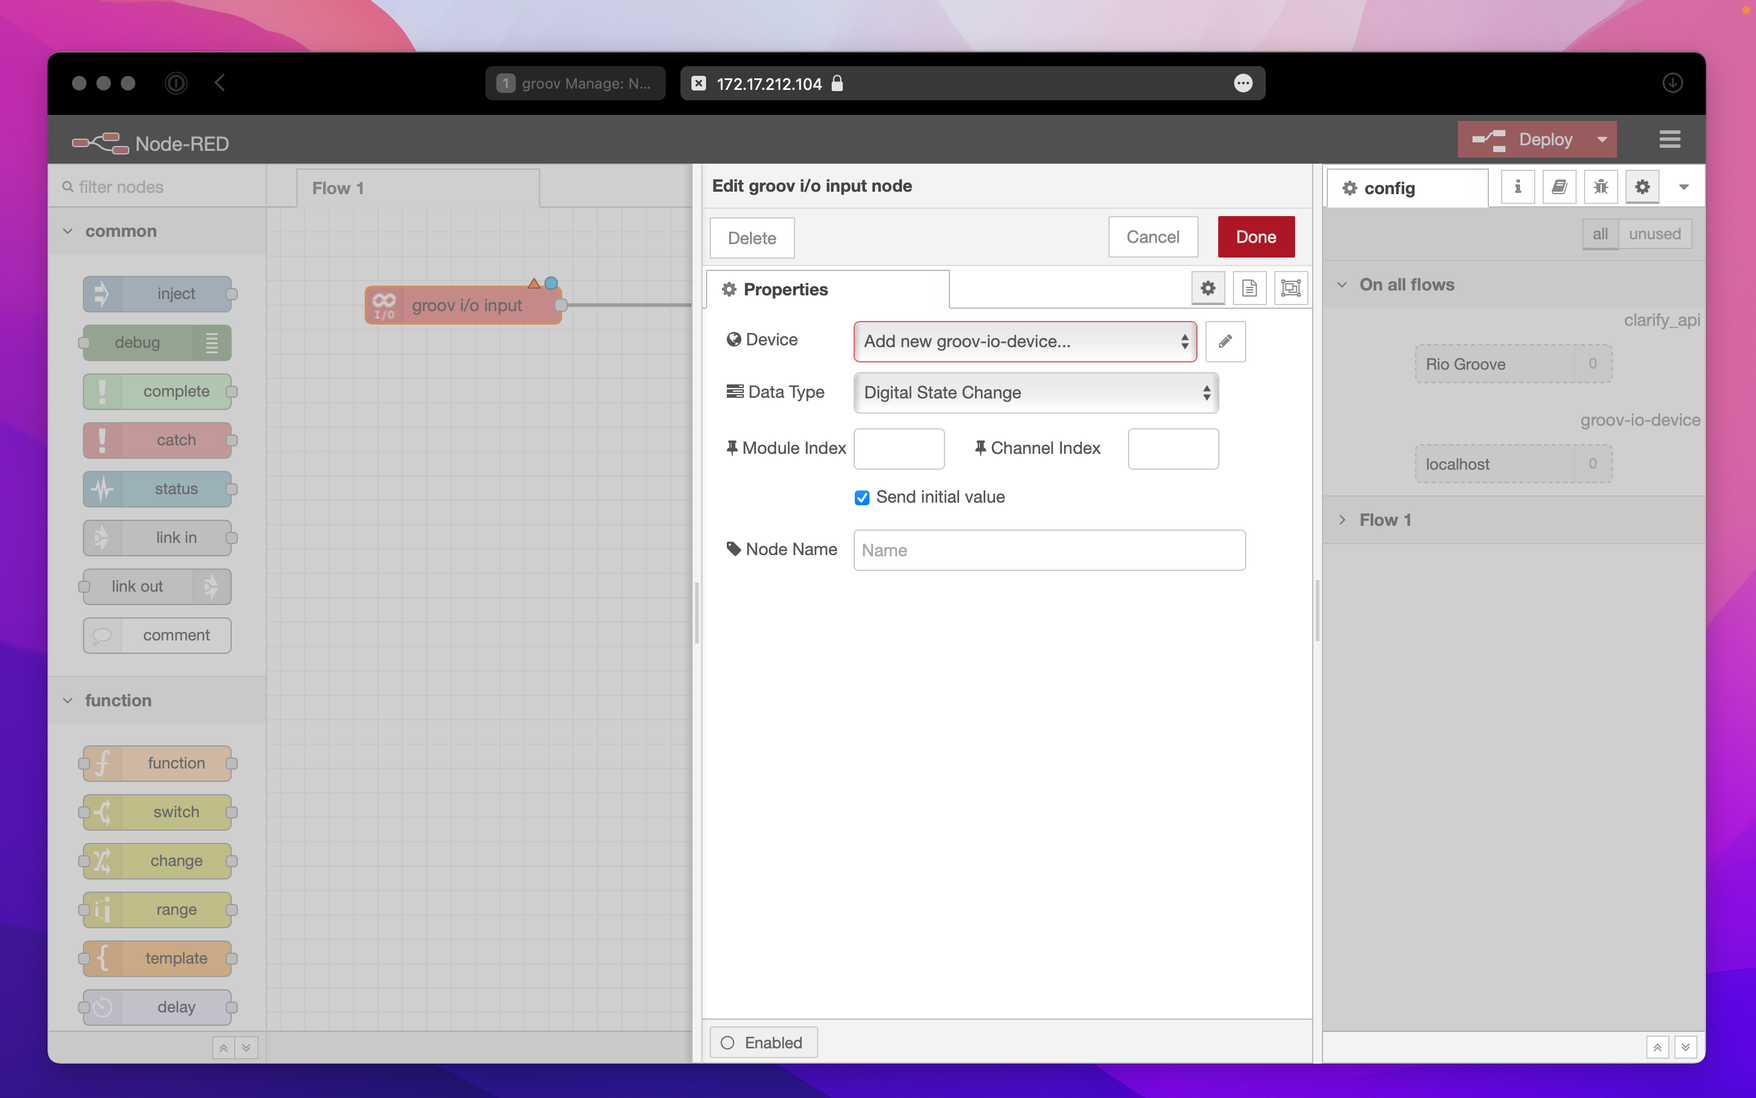
The rest of our setup will depend on the hardware we have connected to the device. In our example we have a button connected to M0C0 (Module Index 0, Channel Index 0) and a temperature sensor connected to M0C1. The video below shows how to configure an input node for both and connecting them to the debug output.
In order to see if things are working, let's open the debug panel and see what is being logged. To get a full view of the contents of the data, we need to configure the debug node to show us the whole message and not just the payload, so double click the debug node and select "complete msg object" for the Output type.
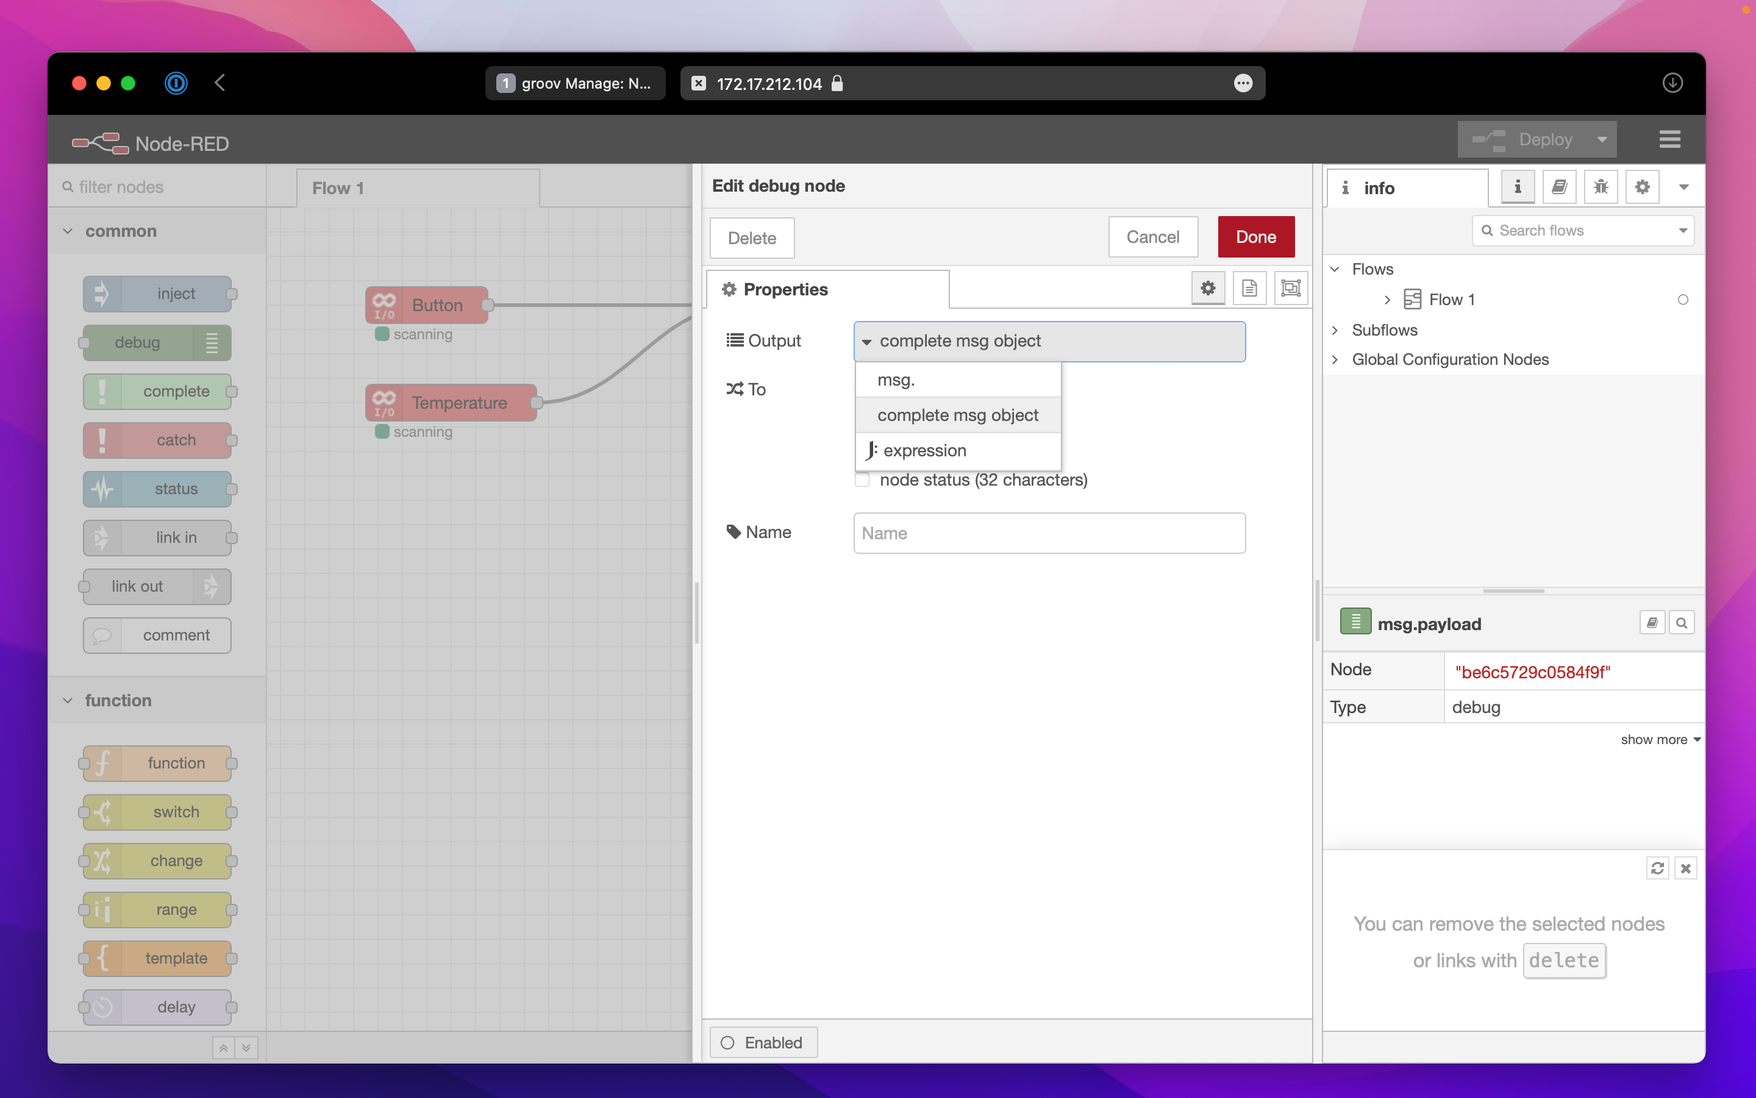
Deploy the changes and open the debug panel to see what is being logged.
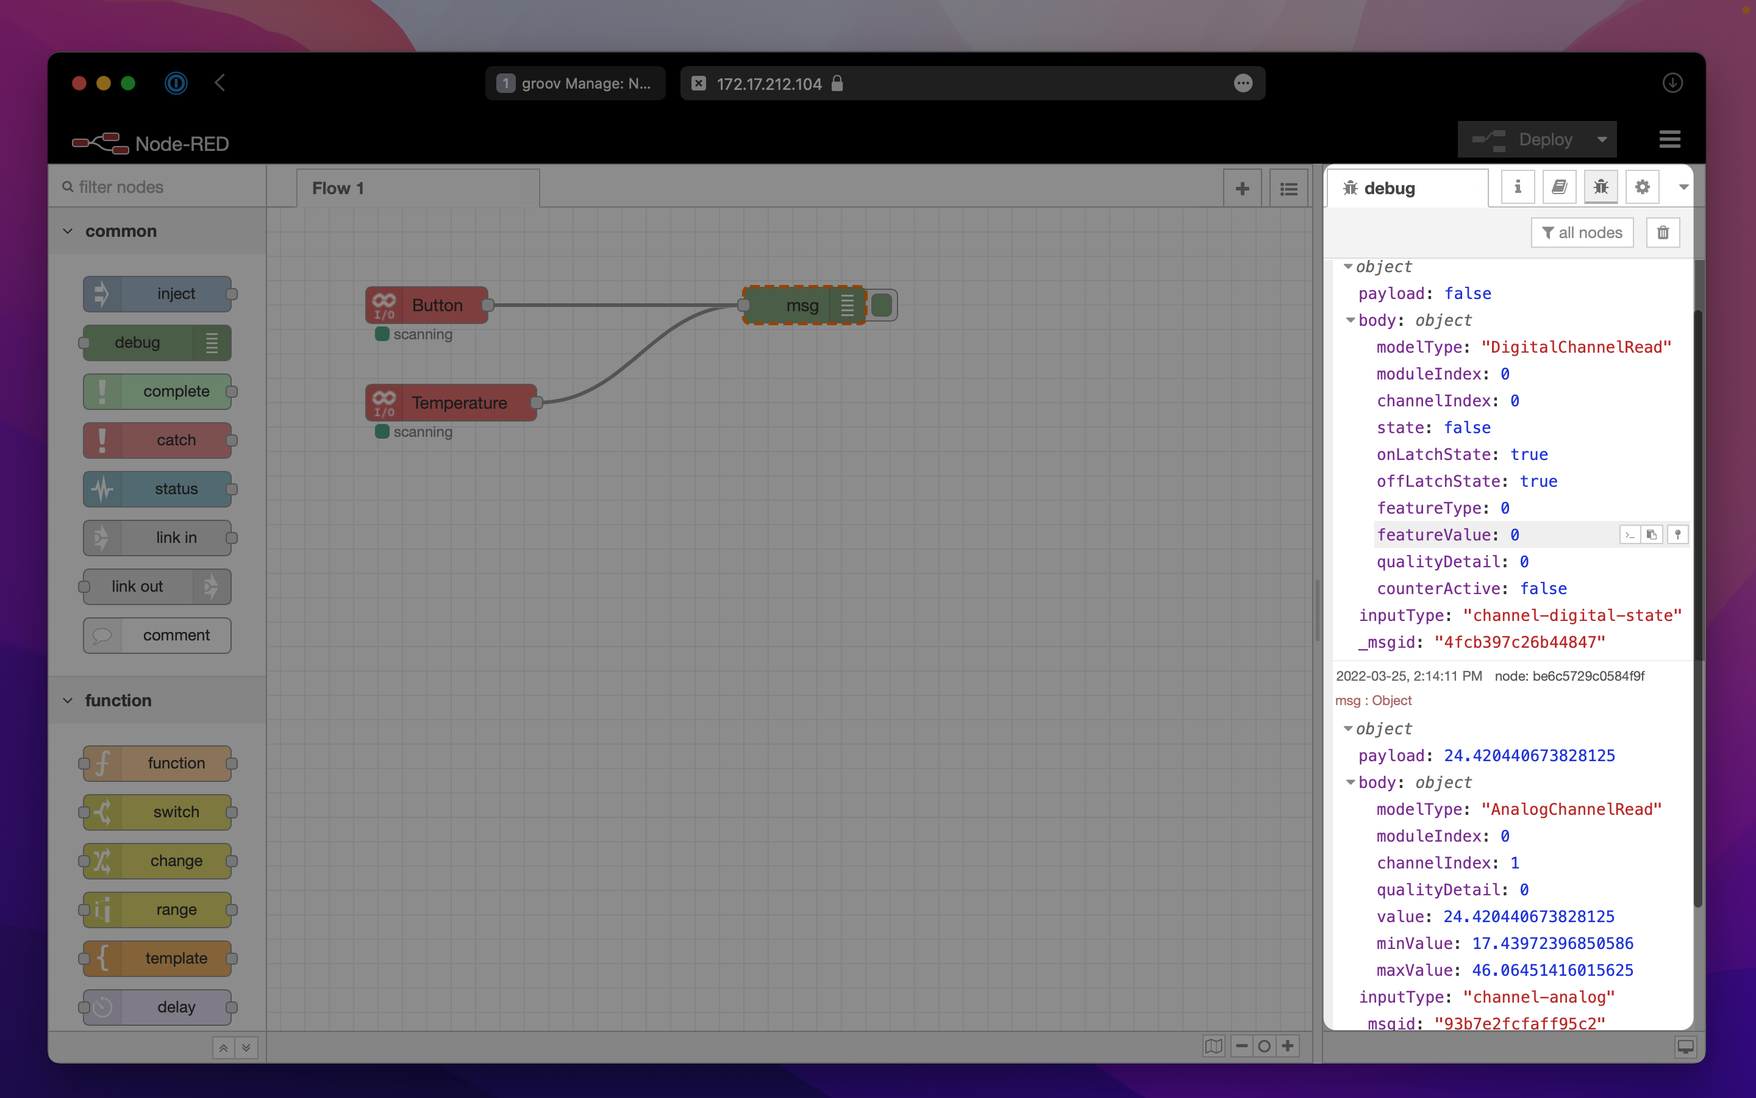
As you can see, we are getting data from both the analogue and digital values we added. With this working, we are ready to move to the next step.
Writing data
If this is your first time connecting to Clarify, you will need to install the node-red-contrib-clarify package. The steps to do so are explained here.
Before we can connect the data to the Clarify node, we need to use a function node to format it. Drag in a function block and connect it between the inputs and debug node as shown in the screenshot below.
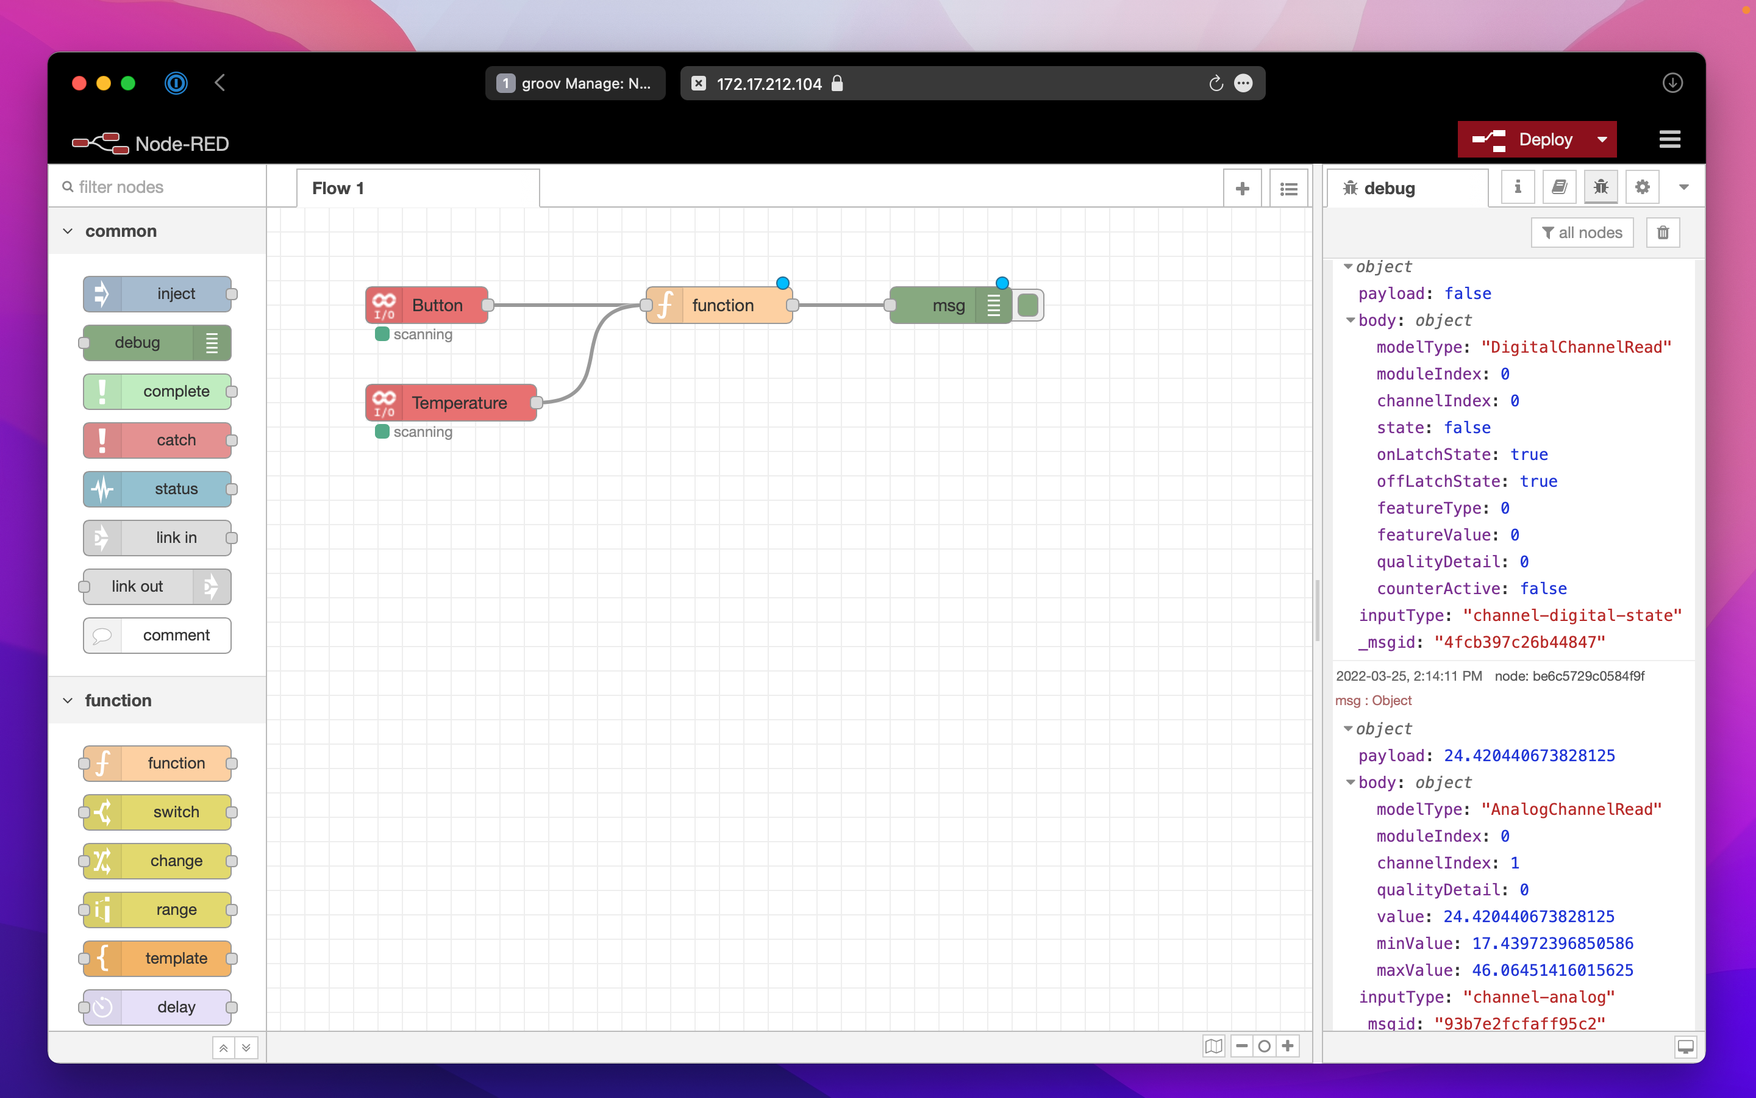
What we want is to use the payload as our value, and the contents of the body as our signals meta-data. When writing data to a signal in Clarify, we separate them by their unique input_id. In this case, we want to combine body.modelType, body.moduleIndex and body.channelIndex to make our input_id. This means that data from each of the channels on our Rio device will be a separate signal in Clarify, and if we change the type of data for a channel, we will get a new signal.
To build a payload that the Clarify insert node will accept, open the function block and paste the code below into it.
let { body } = msg;
let topic = `${body.modelType}${body.moduleIndex}-${body.channelIndex}`;
msg.topic = topic.toLowerCase();
msg.signal = {
  name: body.modelType,
  labels: {
    module: [`${body.moduleIndex}`],
    channelIndex: [`${body.channelIndex}`],
  },
};
let value;
if (msg.inputType === "channel-digital-state") {
  value = msg.payload ? 1 : 0;
} else {
  value = msg.payload;
}
msg.payload = {
  times: [new Date().toISOString()],
  values: [value],
};
return msg;
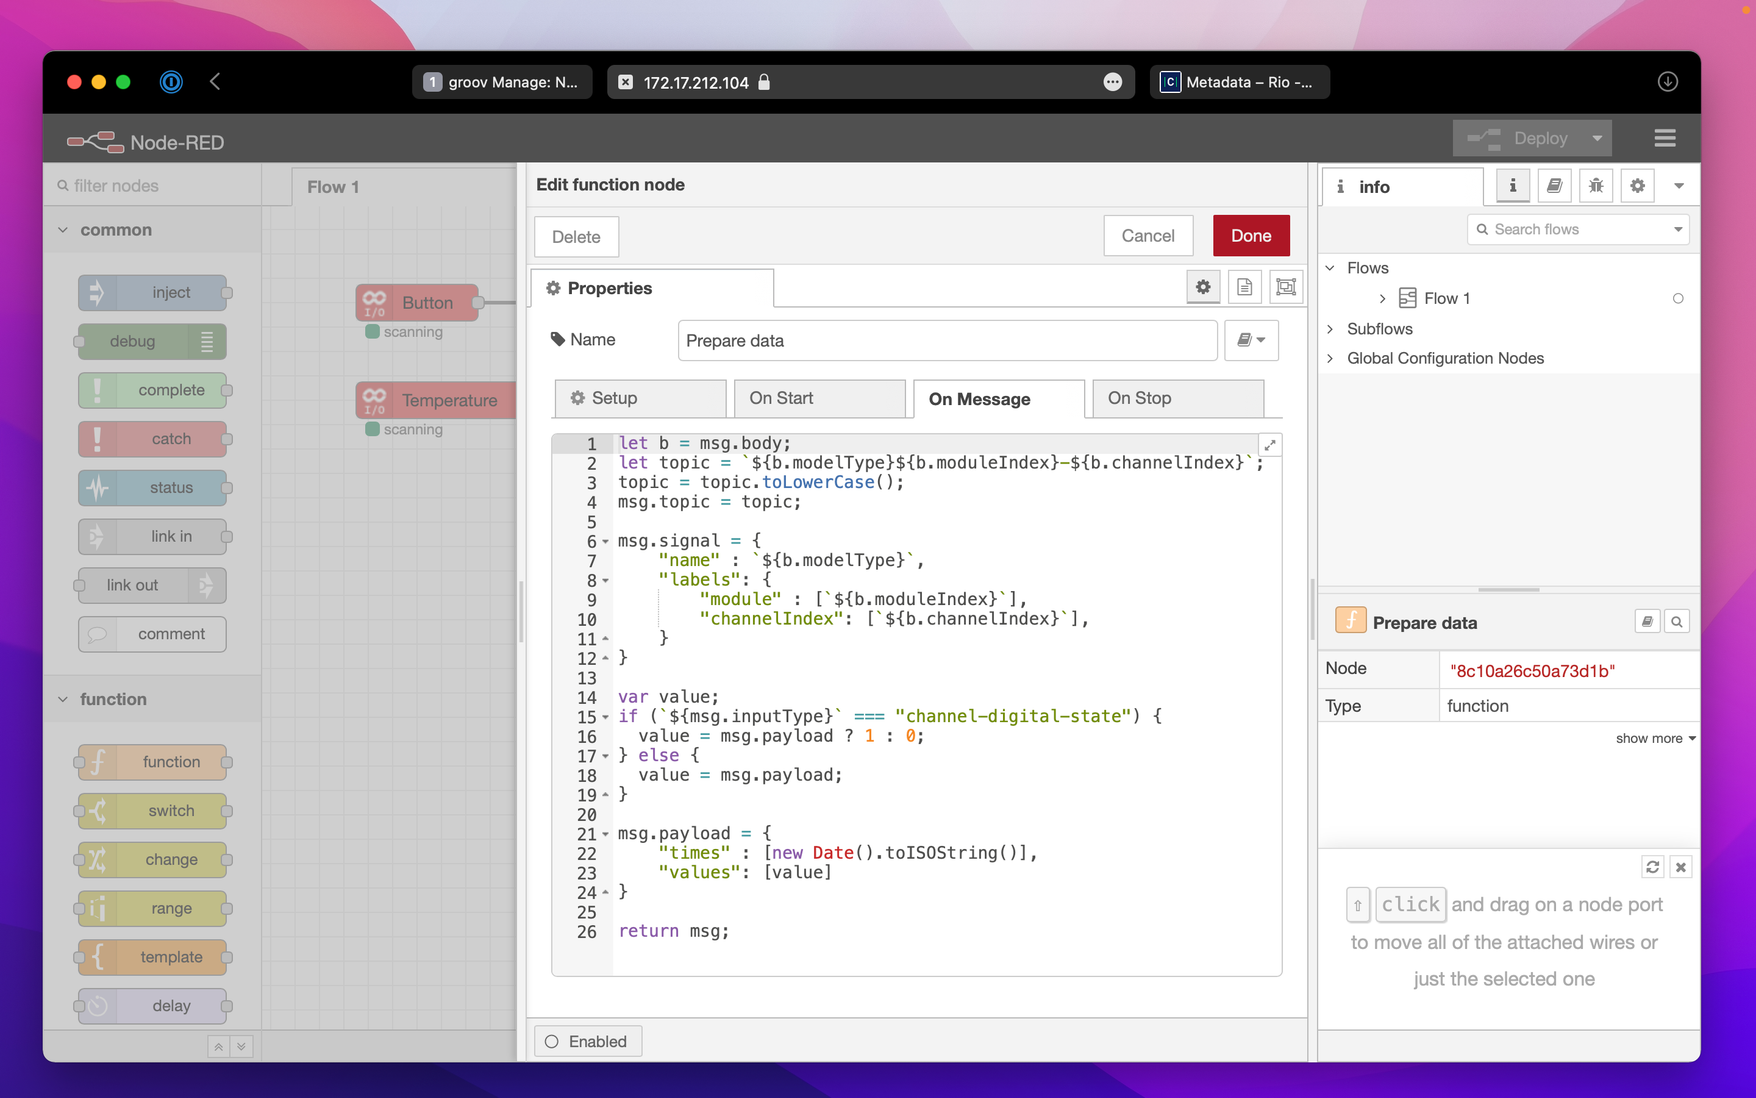
The topic is what Clarify will use as the input ID. There are some limitations to how this must be structured, so you'll notice in the code that we transform the entire string to lower case. The requirements to the input ID is documented in our API Reference.
Press "Done" to save the content and deploy the flow. With the changes we made to the function block we should see a slightly different output in our debug panel.
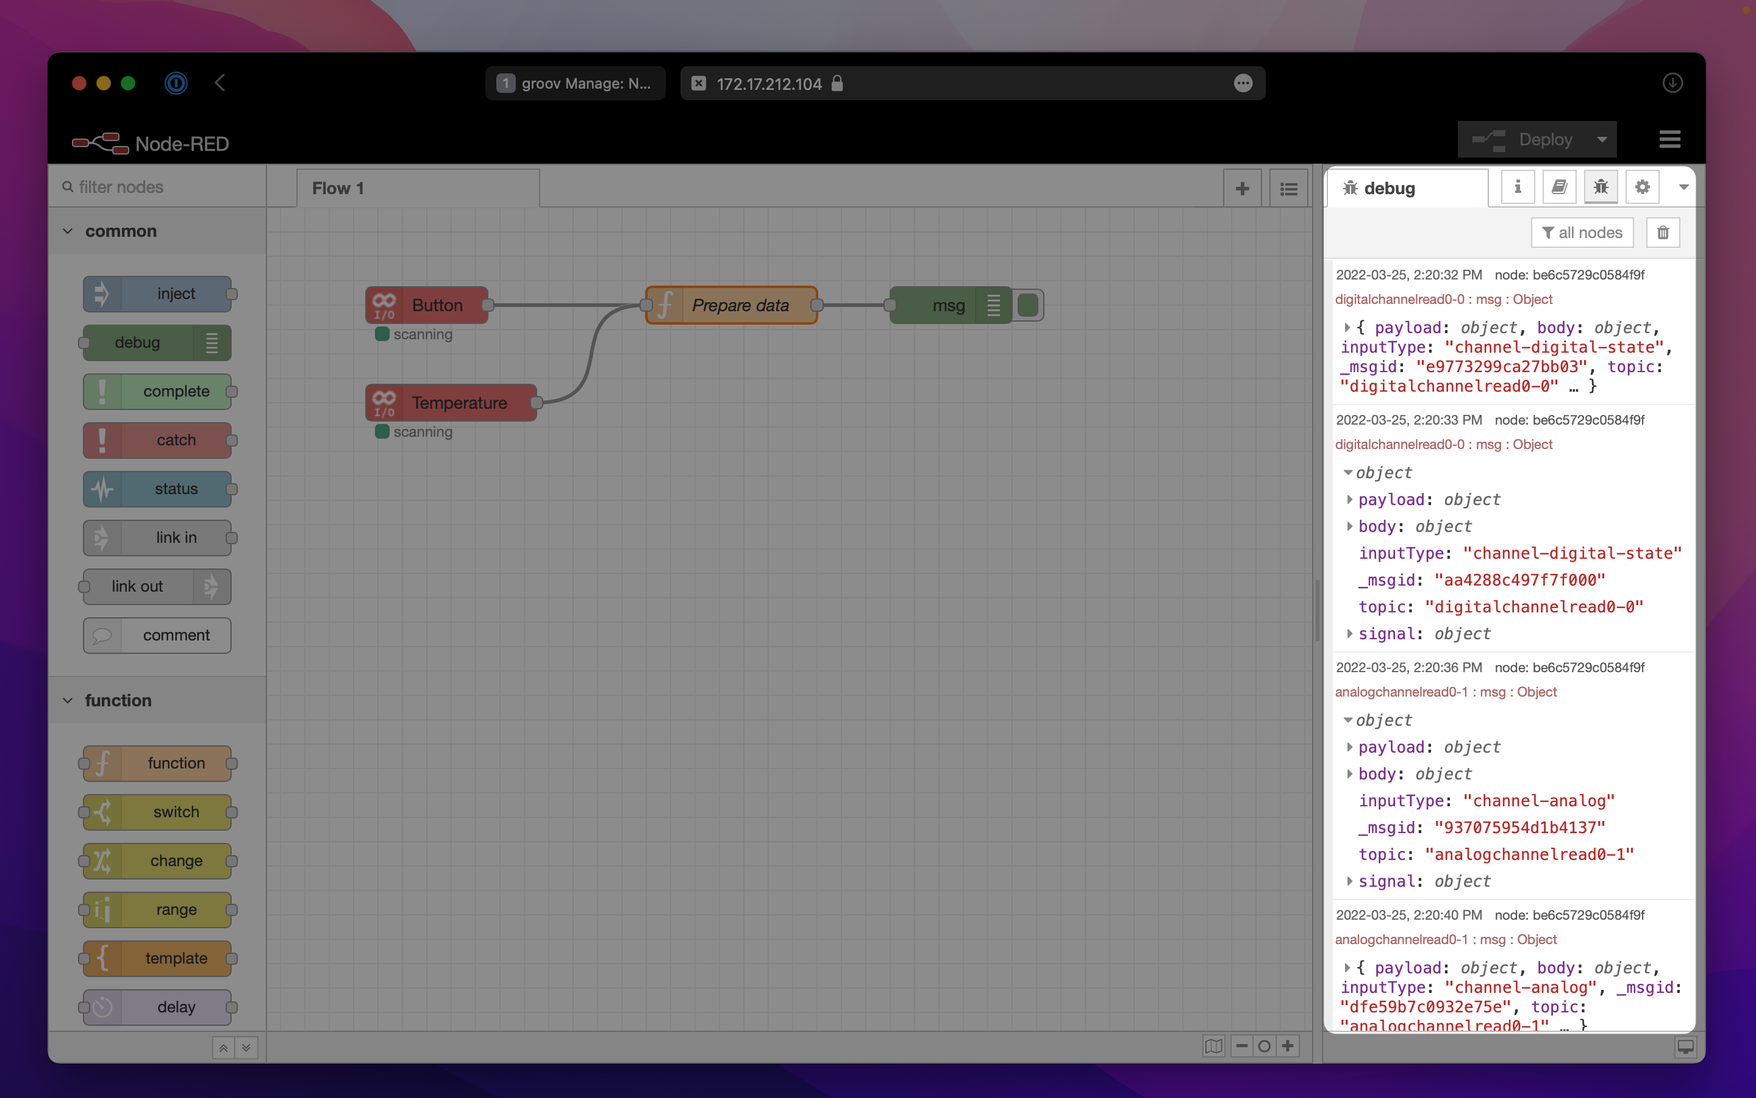
Now we need to drag in a Clarify node to start writing our data to the cloud. With this in place between the function and the debug node our flow looks like the screenshot below.
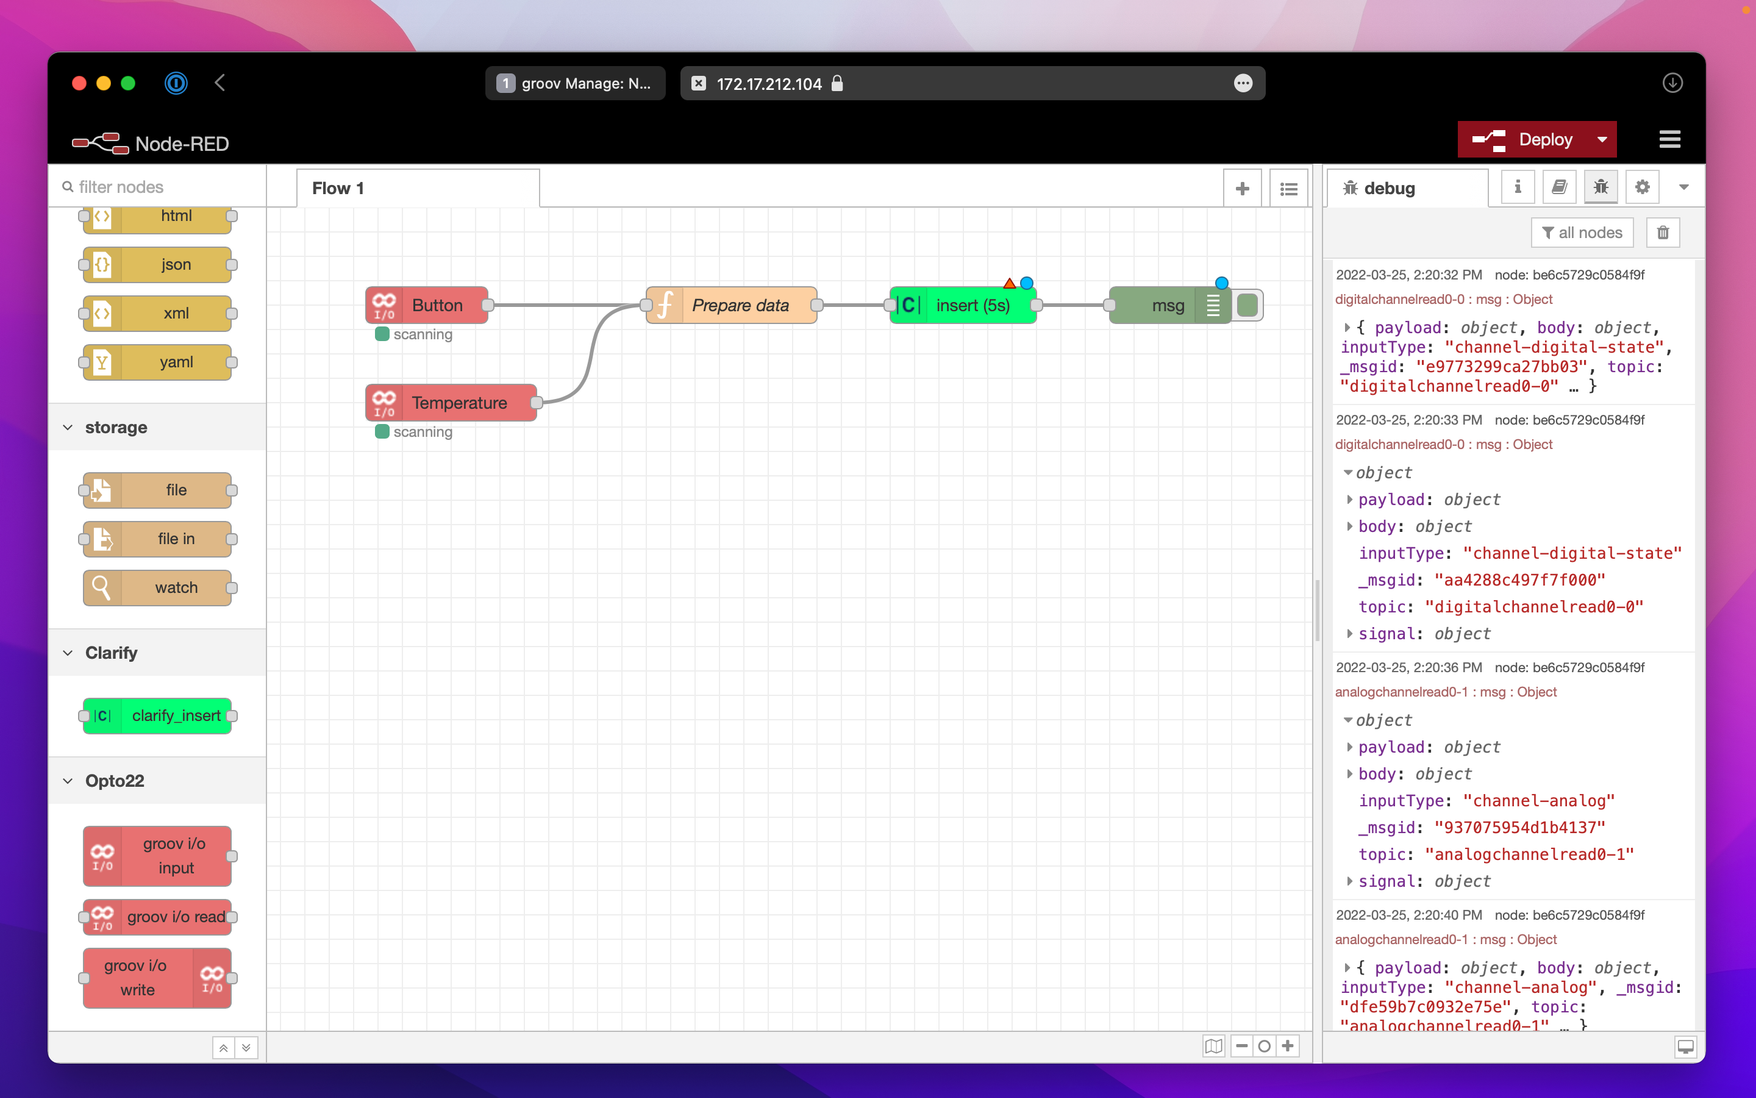
Configuring the Clarify node to send data requires that we create an integration in Clarify, issue a set of credentials and use these to configure the node. Open Clarify in your browser, navigate to the admin panel and follow the steps shown in the video below.
If you look at the debug panel again, you should be seeing messages from the Clarify node, confirming that it is writing data to Clarify. It's now time for the final step, which is to make the data available for use in Clarify.
Publishing data
If you aren't familiar with the concepts in Clarify, you can learn more about them in our concepts guide. This isn't strictly required, but its helpful to be at least familiar with the concepts of and connection between integrations, signals and items.
Open the admin panel in Clarify again and follow the steps shown in the video to publish your data, and visualize it using Timelines.
If you found any errors, ambiguities or have any suggestions on how to make this guide better, please contact us via chat or send an email to hello@clarify.io 🙌
Disclaimer By using our guides you agree to the following disclaimer.