Netatmo
In this guide, we will show you how to gather data from Netatmo Smart Home Weather Stations using Node-RED, process the data, and write it to Clarify.
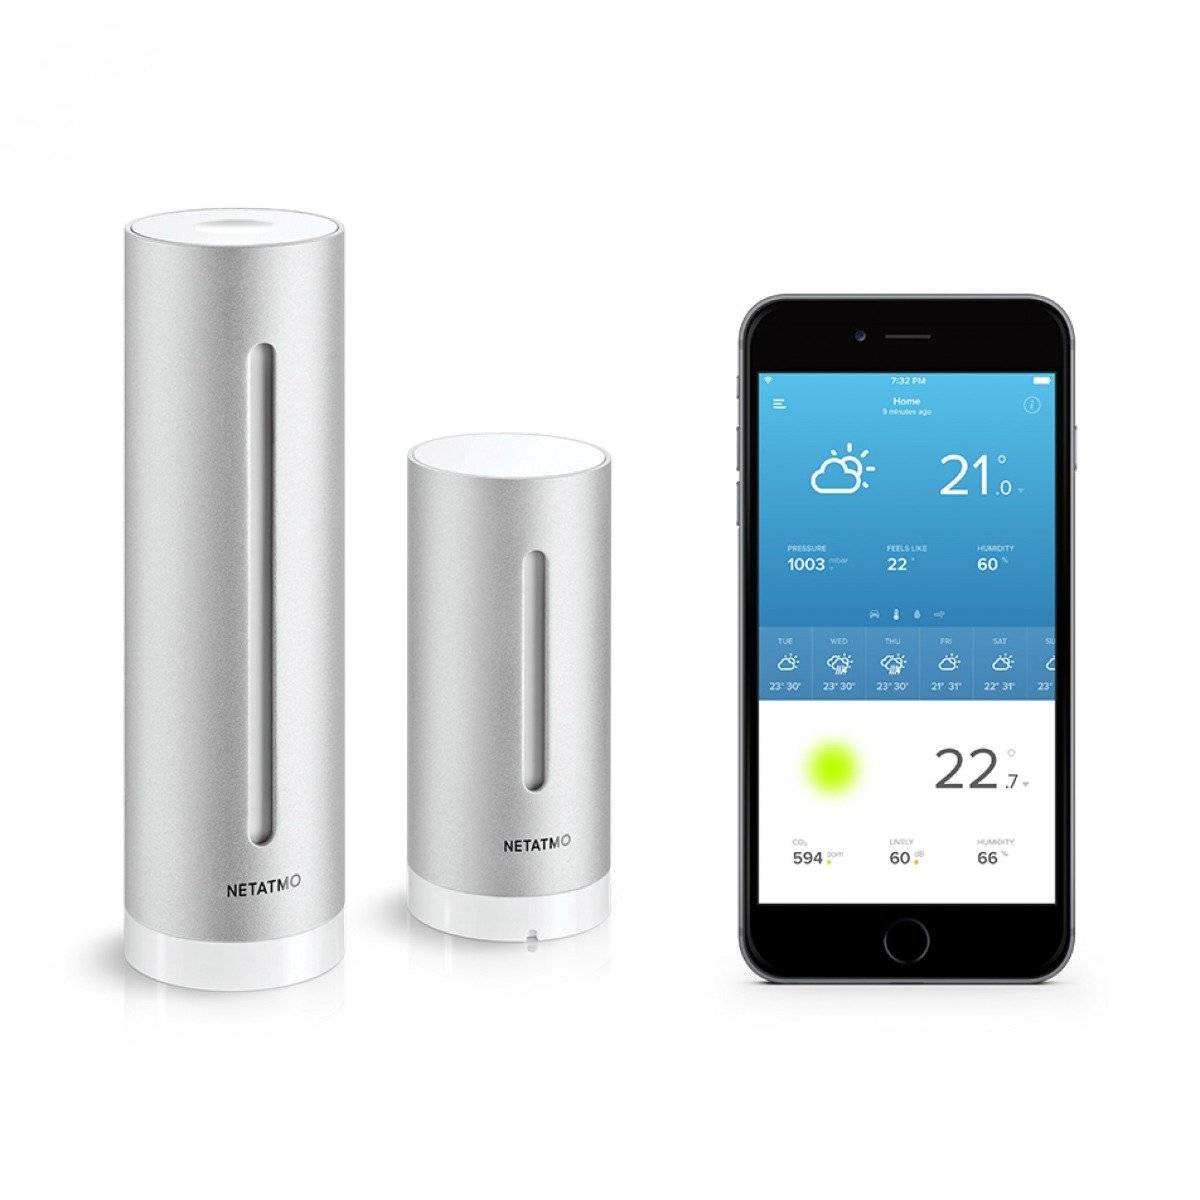
To be able to follow this guide you will need the following:
- Access to a Netatmo Weather Station
- An Netatmo account
- A developer account and a registered app on Netatmo Developer Portal
- It's easy and free to register an account and create an application for personal use
We will assume that you have basic knowledge and a working instance running Node-RED, if not please read our Introduction and the guide on how to Install Clarify node.
To proceed make sure you have the following easily available:
- Netatmo username (your registered email) and password
- Your application client ID and client secret
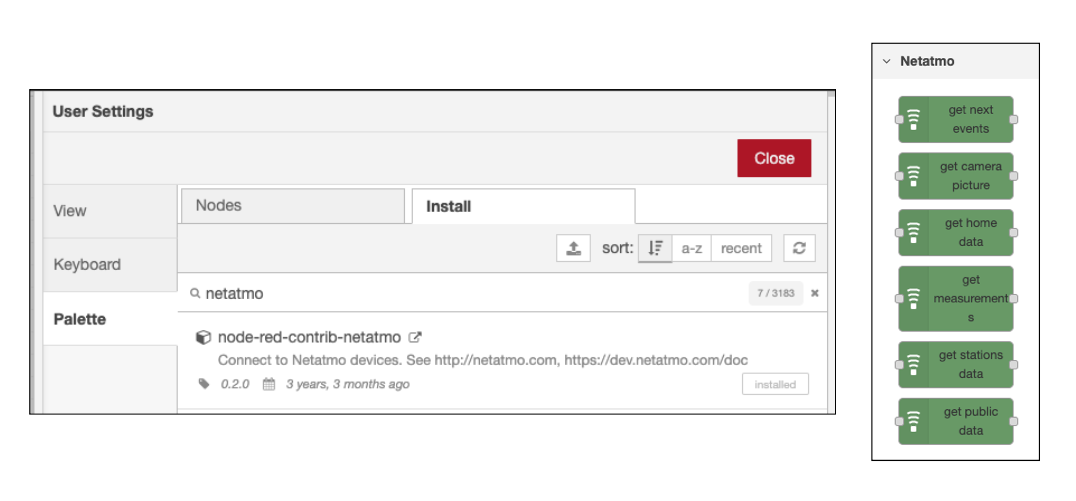
Get weather station data
In this guide, we will be using the get stations data node. This node provides the latest measurements for all weather stations associated with your Netatmo account and triggering this node on an interval will give us continuous data.
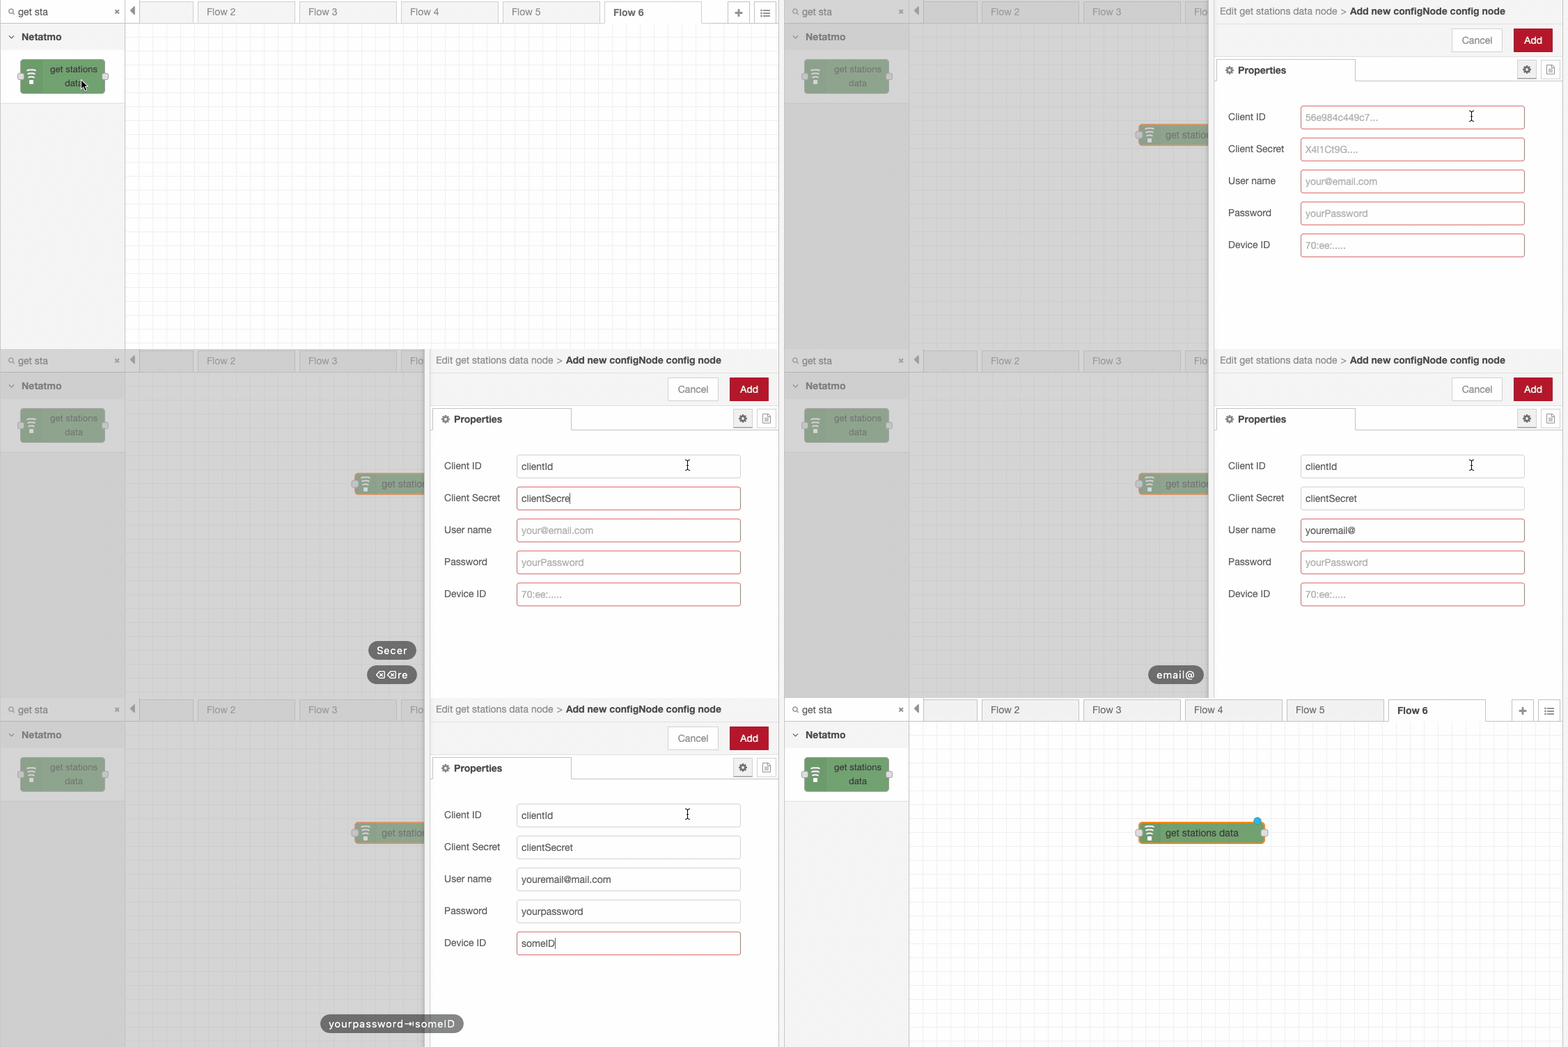
Start by dragging the node onto an empty flow and configure the config node with your credentials. (The Device ID part of the config isn't necessary for this guide and can be omitted, but if you know your station_id you can put it there to avoid a node warning)
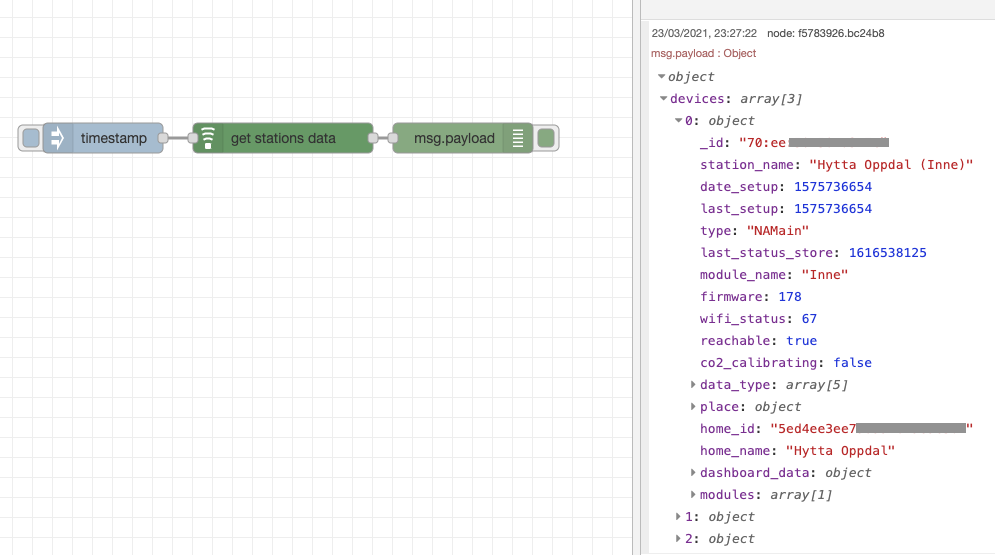
Drag in an insert node to trigger the flow and connect a debug node to inspect the result. The flow and result should look like the image below. As you can see we have three devices connected to our account and the result comes as an array in msg.payload.devices. Each device might have several modules connected to both indoor, outdoor, rain, and wind modules.
Split the module data
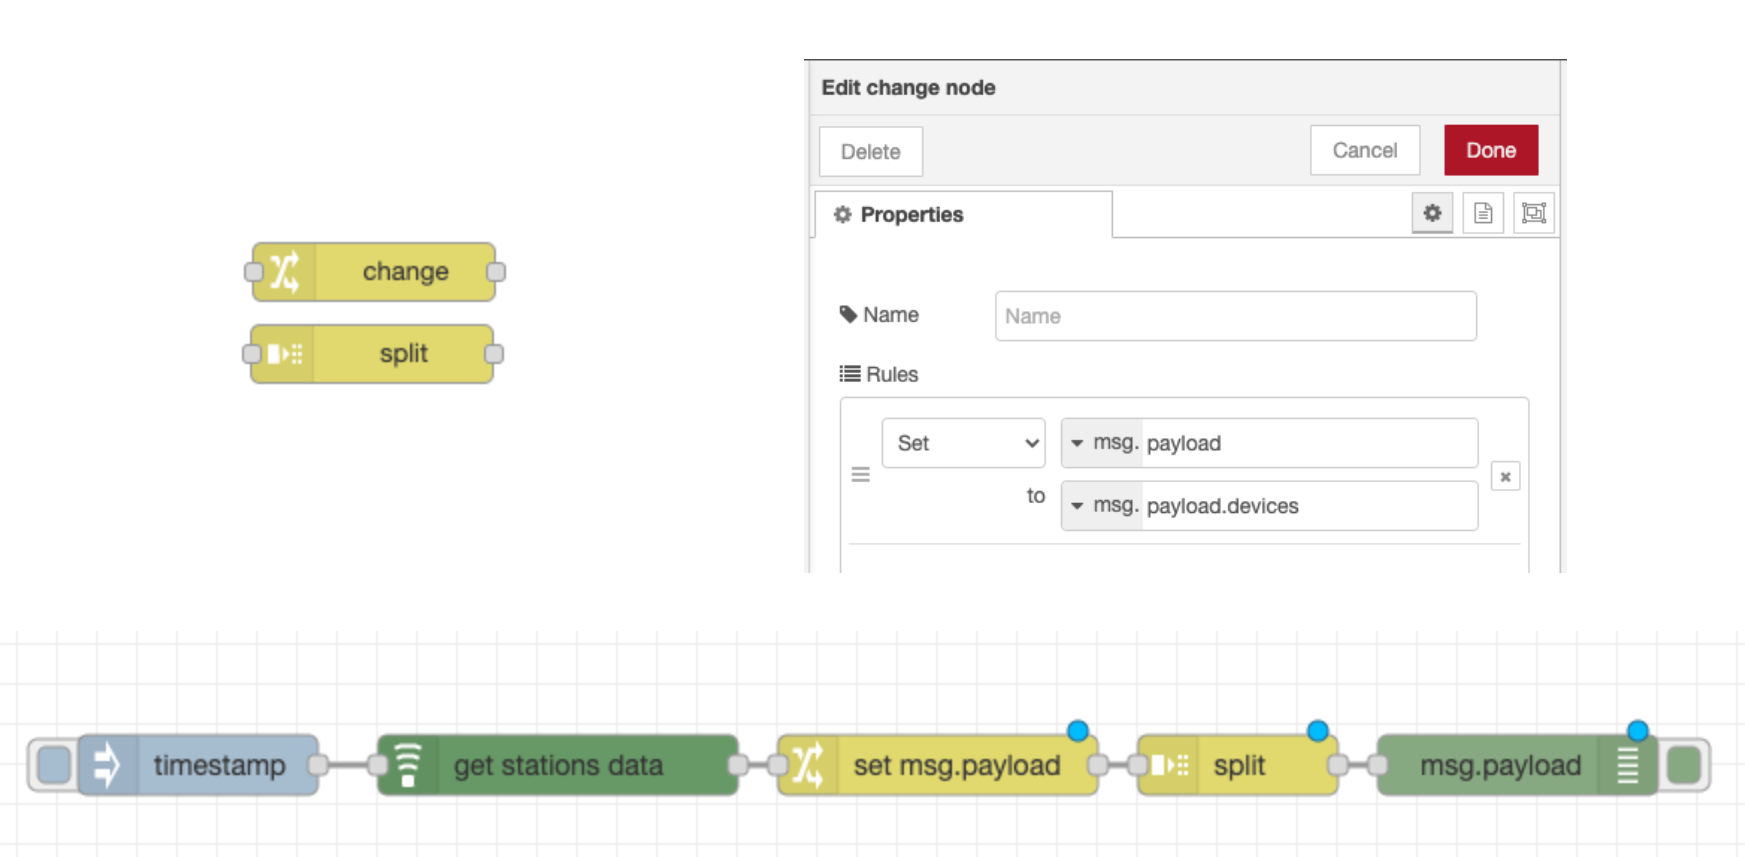
Since Node-RED is based upon message passing, we have decided to use some standard nodes to split the device's array and send one message per device, this makes us able to create processing logic for a single device. For this guide, we will also make a filter on _id to only gather data for a cabin at Oppdal. Use the change and split nodes to create the flow below.
Process and prepare for Clarify node
The next step is to create a function that processes each incoming message and creates one message per signal, containing meta-data and value for each measurement. Each module can be uniquely identified by its _id in the form of a mac-address, so using this id and the measurement type makes for a great signal ID. We also set the name as the measurement type and adds some more info as labels to easier distinguish between the signals in the Admin Panel.
The code for the processing is given below and can be copied into a function block and added to the flow.
let outputMsgs = [];

extractData(outputMsgs, msg.payload);

// Add additional data to each measurement
outputMsgs.forEach((m) => {
  m.signal.labels["home_id"] = [msg.payload.home_id];
  m.signal.labels["home_name"] = [msg.payload.home_name];
  m.signal.labels["station_name"] = [msg.payload.station_name];
});

return [outputMsgs];

// Process every main- and sub-module, extract available measurements
// and generate the input that the Clarify node expects.
function extractData(res, m) {
  if (m.modules) {
    m.modules.forEach((m) => extractData(res, m));
  }

  if (m.dashboard_data === undefined) {
    return;
  }
  let time = new Date(m.dashboard_data["time_utc"] * 1000);
  m.data_type.forEach((dt) => {
    // create unique id for each measurement. Replace : with _
    // to conform with inputID requirements.
    let id = m._id.replace(/:/g, "_") + "_" + dt;
    res.push({
      topic: id.toLowerCase(), // id must be lowerCase
      signal: {
        name: dt,
        labels: {
          module_name: [m.module_name],
        },
      },
      payload: {
        times: [time.toISOString()],
        values: [m.dashboard_data[dt]],
      },
    });
  });
  return res;
}

Write data to Clarify
The messages now confirm with the format that the Clarify node expects and we can then add the Insert node and wire it up. The debug panel will show the response from the Clarify API.

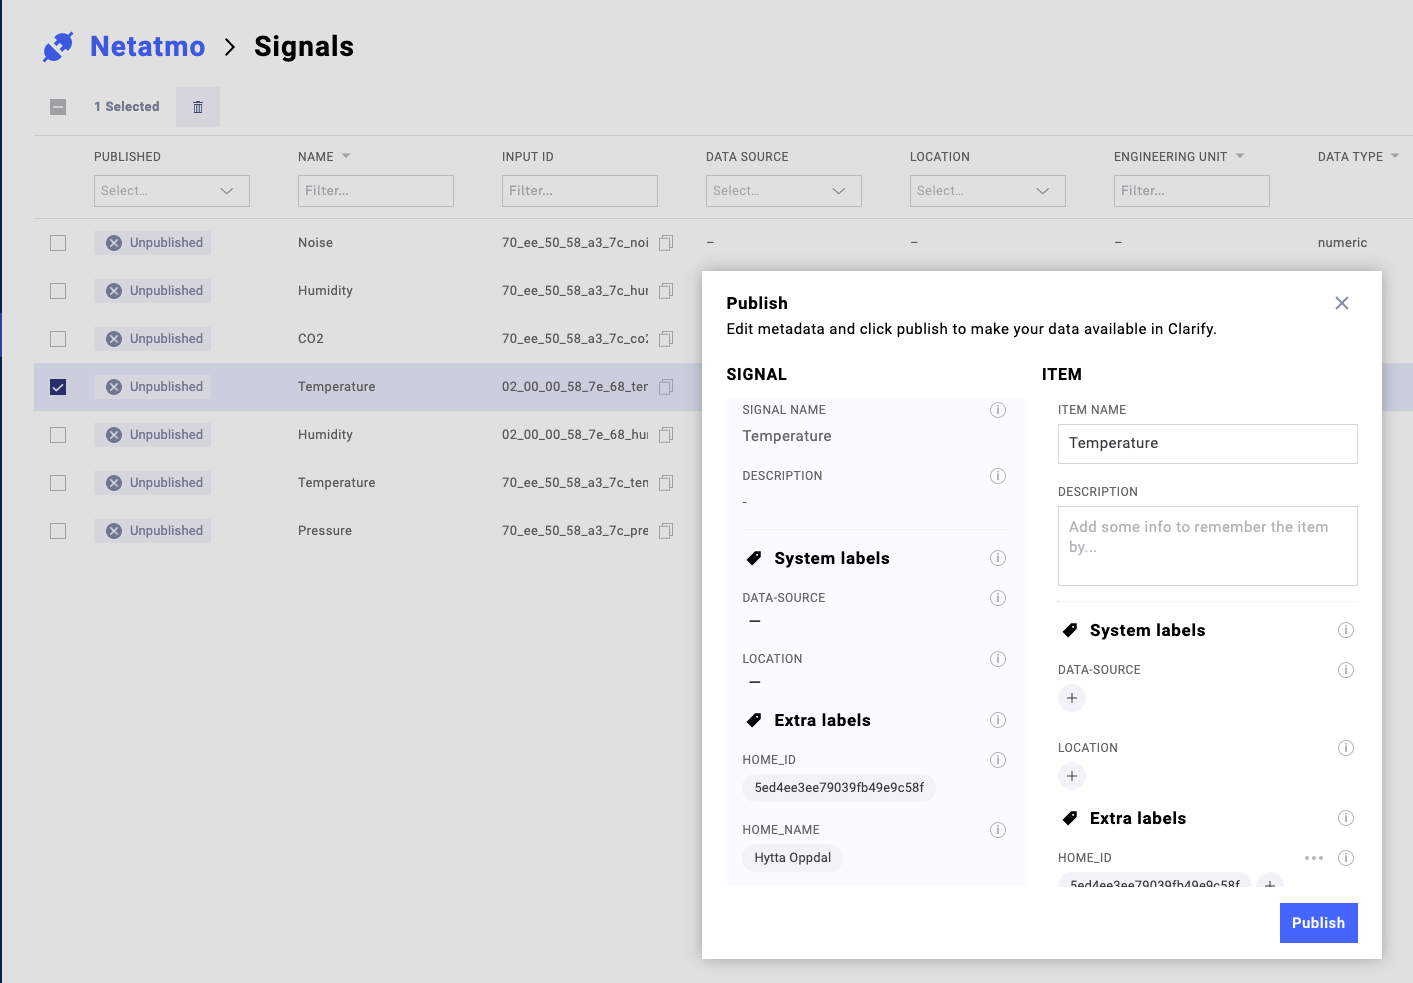
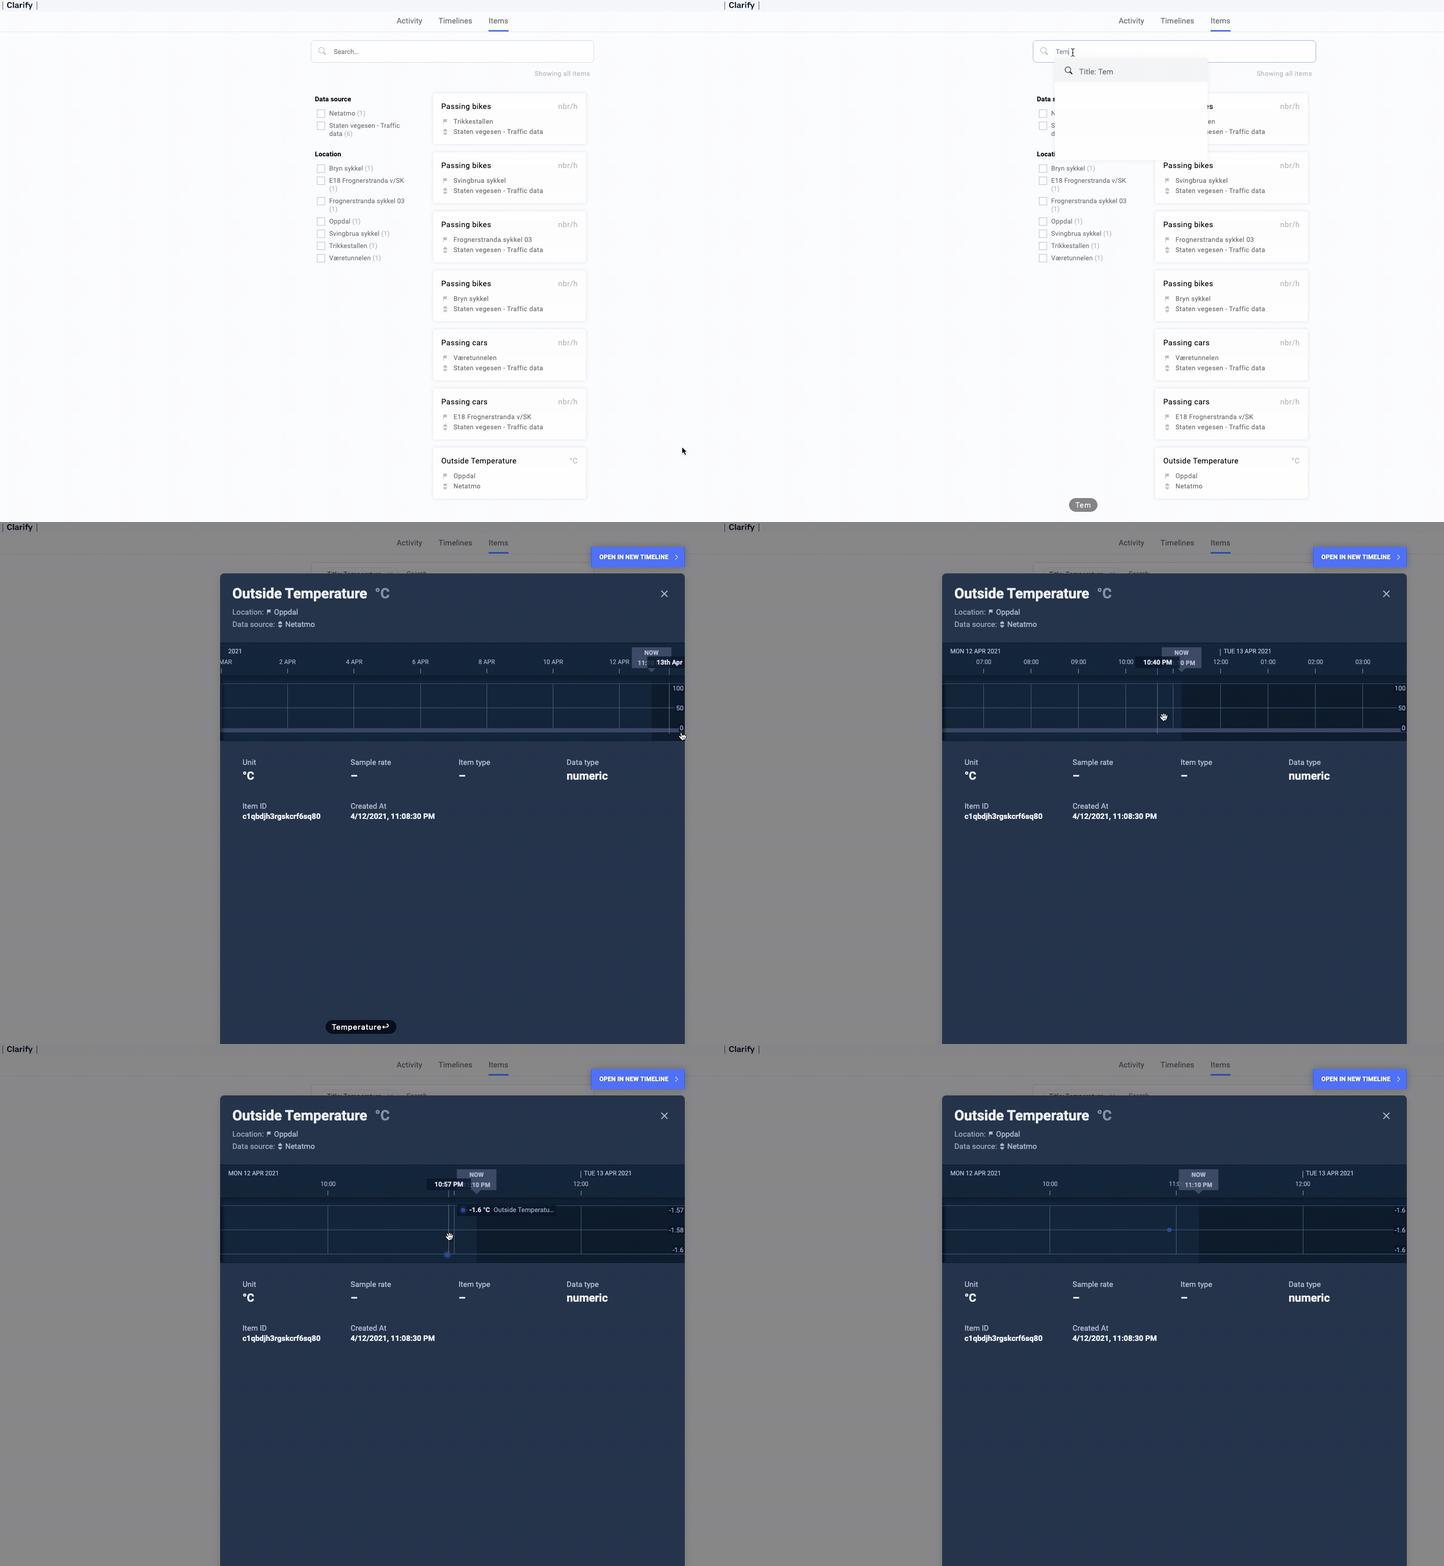
If everything works as expected you should now find all the signals when looking at the integration in the Clarify admin panel. Choose a signal and publish it to view the data in the Clarify Timelines view.

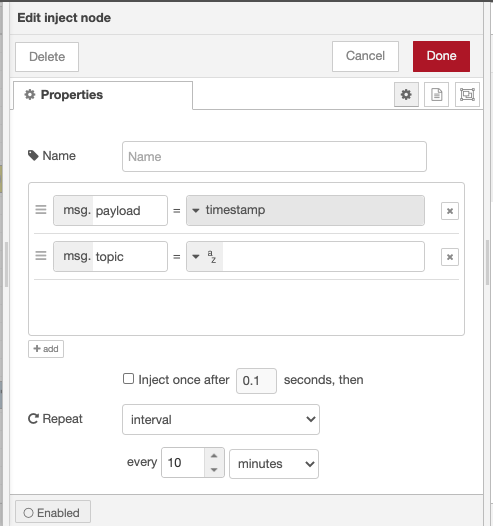
After you have verified that your flow works as expected remember to set the inject node to run periodically. Every 10 minutes should be appropriate for the Netatmo data source.
🎉🎉🎉 Congratulations - you should now have a working Netatmo integration that fills your Clarify instance with interesting meteorological data.
If you found any errors, ambiguities or have any suggestions on how to make this guide better, please contact us via chat or send an email to hello@clarify.io 🙌
Disclaimer By using our guides you agree to the following disclaimer.